
|
"The lesson will be taught in due time, Aloy. Until then, we wait." This article contains heavy spoilers. Read ahead with caution.
|
We will stand tall, for we are the strength of the Nora.—Sona
Sona is a recurring character in Horizon Zero Dawn and mentioned only character in Horizon Forbidden West.
As the War-Chief of the Nora tribe, Sona commands the entire force of Nora Braves, leads them in battle, and formulates their military strategies. She performs these duties with indomitable will and severe seriousness, her utmost priority always being the security of the Sacred Lands and the tribe.
History
Sona's two children, Varl and Vala grew up competing for Sona's approval, which put a lot of pressure on Varl in particular. She also criticized Vala for decorating her spear, calling it useless.[1]
During the year that Vala was running in the Proving, the Eclipse attacked invaded the Sacred Lands. The attack, known as the Proving Massacre, killed many of the participants, including Vala.[2] Determined that the killers would be made to pay in blood for the attack, Sona pursued them with a large contingent of Braves, ordering Varl to defend the Main Embrace Gate with his life.[3]
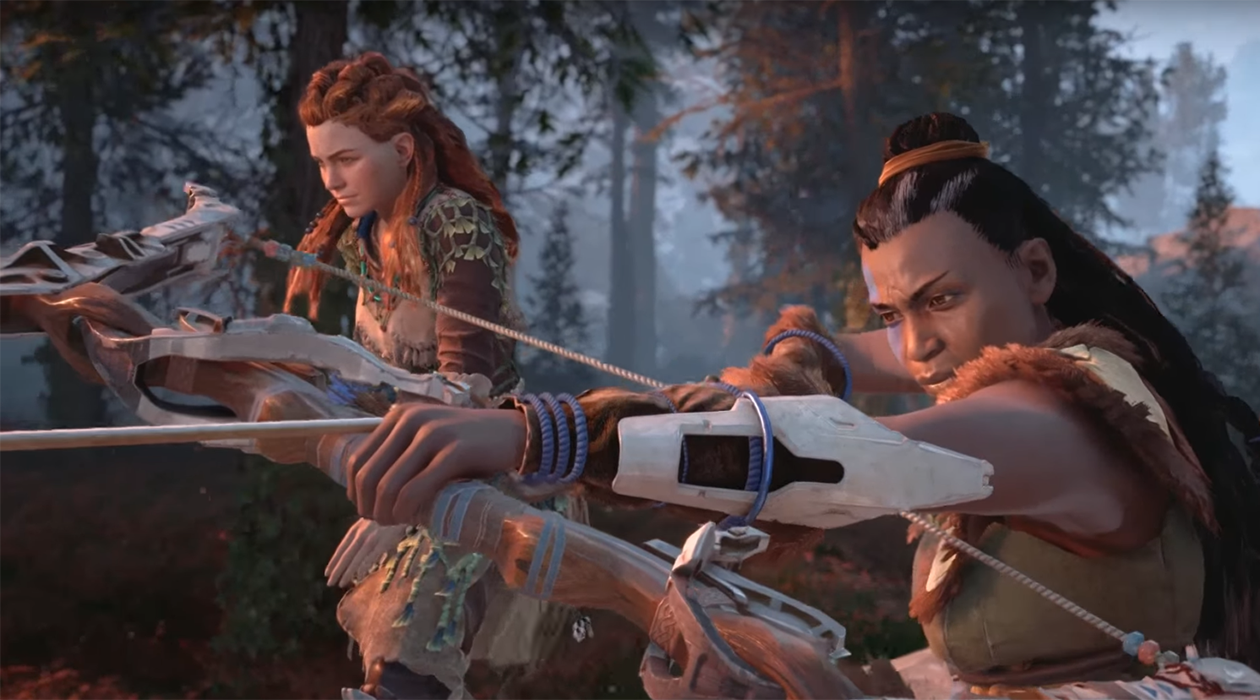
Sona and the Braves tracked the killers down. However, many of them, allowing their anger to cloud their judgment, went ahead of the force. In addition to the element of surprise, the cultists also had Corruptors on their side. The Braves who went ahead into the camp were either killed or severely injured, greatly weakening the contingent. Sona continued pursuit with the remaining Braves, sending the injured back to the Embrace. The force made camp near Devil’s Thirst, where they re-acquired the killers’ trail, tracking them to a small dig site not far from the camp. While scouting the area, Sona encountered Aloy, having been asked by Varl to find her. Recognizing Aloy as a Seeker, Sona had no command over her, but still requested her help in their planned attack on the Eclipse. Together, they coordinated and led a successful attack on the dig site, killing all the Eclipse soldiers present.[3]
However, Sona realized that the killers present at the site were but a fraction of those who had attacked the Proving. Aloy investigated the site and found a lead revealing the killers’ main location, at an Old Ones ruin known as the Ring of Metal. Furthermore, the lead suggested a method of successful surprise attack. But the location gave Sona pause, as Old Ones ruins were considered taboo to enter. However, Varl arrived, and he and Aloy persuaded Sona to break the taboo for the purpose of righteous retaliation for the attack by the Eclipse on their people, with Sona believing that Aloy's Seeker blessing would protect them.[3]
Sona and her Braves made camp at Red Echoes, where Aloy arrived and offered to clear out three nearby outposts the killers had set up, in order to prevent warning of their presence from reaching the ruin. Sona agreed, sending a unit of Braves along with her to assist. As Aloy and the Braves departed, Sona rallied the remaining Braves in a pre-battle speech. Aloy and the Braves succeeded in clearing the outposts, and met up with the force just outside the Ring of Metal. The killers outnumbered the force, and also had corrupted machines on their side. Aloy proposed to infiltrate the Ring of Metal and use the information she obtained in the lead she got at the dig site: a store of Blaze that, once ignited, would blow a hole the ring’s outer wall large enough for the entire force to pour through, taking the killers by surprise. Sona agreed, ordering Varl to go with her. Aloy and Varl successfully infiltrated the Ring of Metal and located the Blaze store. Varl returned to the force while Aloy made her way to the store and ignited it. As intended, the Blaze blew a hole in the ruin’s outer wall, as well as destroying the Corruptors, leaving the killers in surprised disarray. Sona and the force stormed through into the ruin, killed all the Eclipse and their machines, with Aloy fighting alongside them. After the battle, Sona complemented Aloy for her skill and bravery, and wished her success on her quest, after which she and the Braves returned to Mother's Crown.[4]
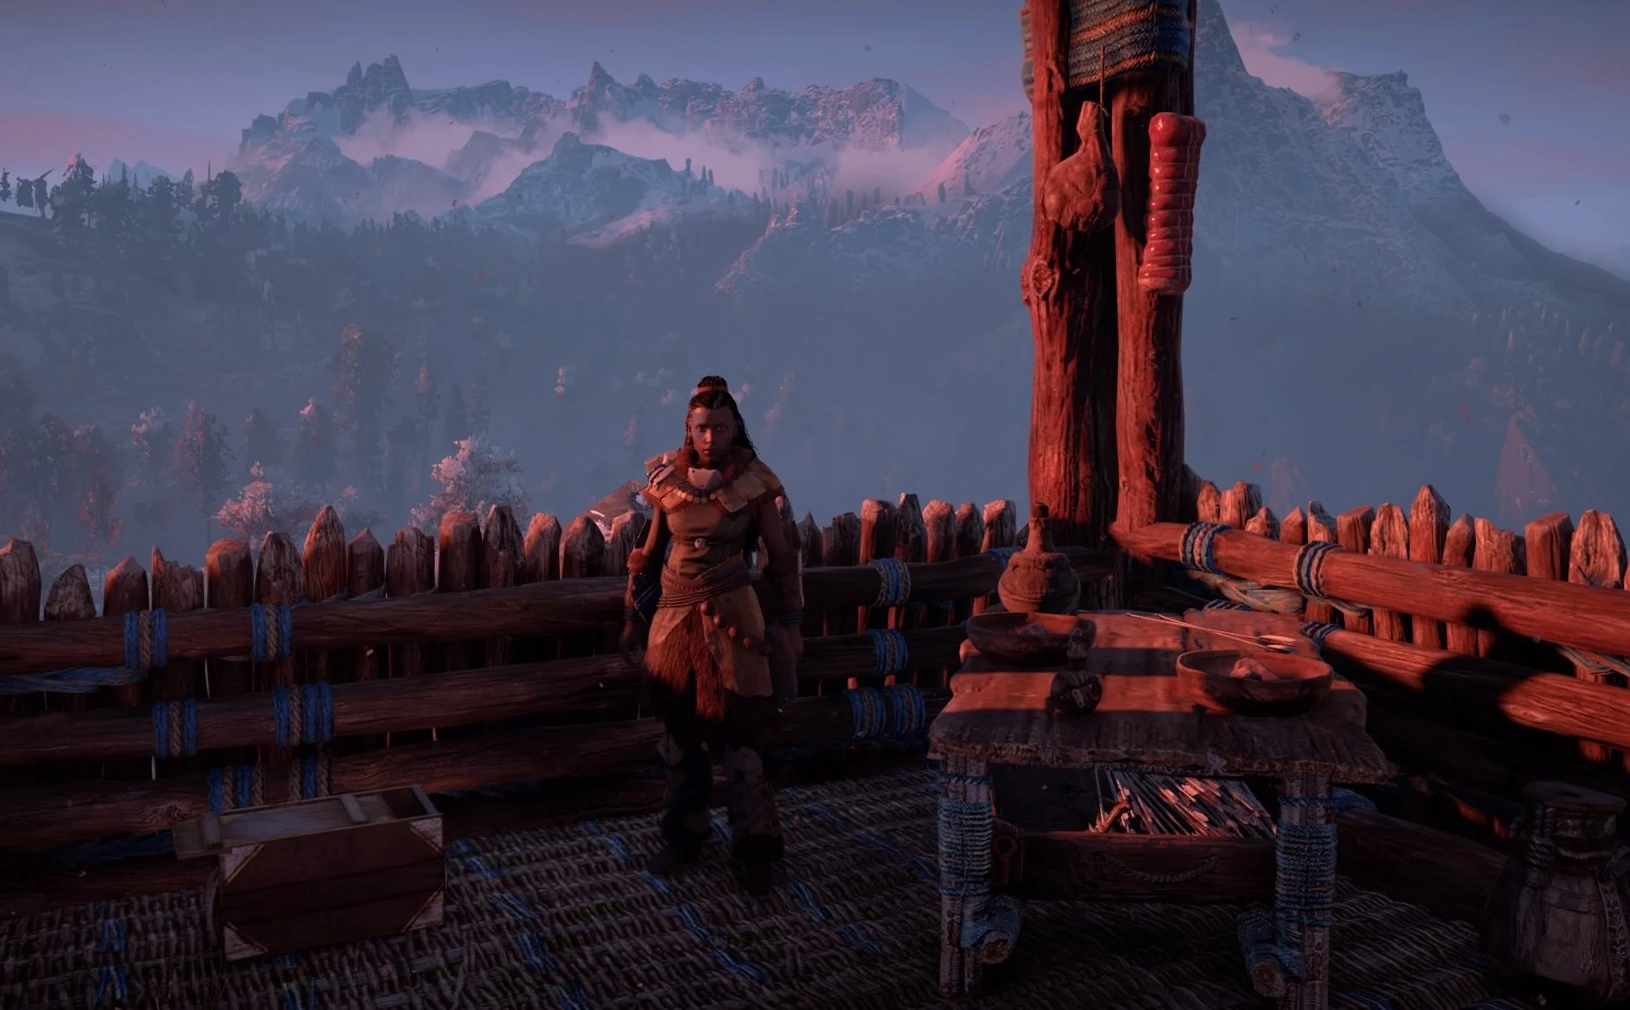
At Mother’s Crown, Sona oversaw the improvement of the defenses. However, she had a problem in that certain resources were needed, namely Chillwater and the lens of a Lancehorn. Furthermore, she needed a cache of signal arrows to be delivered to a watchtower to the south. Aloy helped by doing these tasks for Sona, earning more of her respect and gratitude.[5]
When the Eclipse invaded the Sacred Lands again, aiming to exterminate the Nora, Sona was among those fighting to defend the tribe. With their numbers greatly weakened due to the Eclipse’s previous attack, the Nora were unable to prevent the cult from invading and devastating the Sacred Lands. The population took refuge at the most defensible position inside All-Mother Mountain, as the cultists had a Corrupted Thunderjaw bombard the mountain with its Disc Launchers. Having learned about the invasion from Helis, leader of the Eclipse, Aloy returned to the Sacred Lands to save the tribe. She fought her way to the mountain and engaged the Thunderjaw. Seeing this, Sona led the Braves out to assist her and they defeated the Eclipse and their Thunderjaw.[6]
After the battle, Sona testified of Aloy singlehandedly lifting of the siege to the High Matriarchs. She then watched along with the Matriarchs and the gathered Nora as Aloy entered what they believed to be the chamber of their goddess, All-Mother. When Aloy returned, Sona, along with the rest of the Nora, fell to her knees in worship. Aloy, however, angrily lifted her and others to their feet, declaring that she will not be worshiped, speaking of the whole world beyond their borders, and that it and all its tribes, including the Nora, were in grave danger. When Varl asked Aloy how the Nora could help, Aloy asked for all able-bodied fighters to go to Meridian, where the battle would occur.[6]
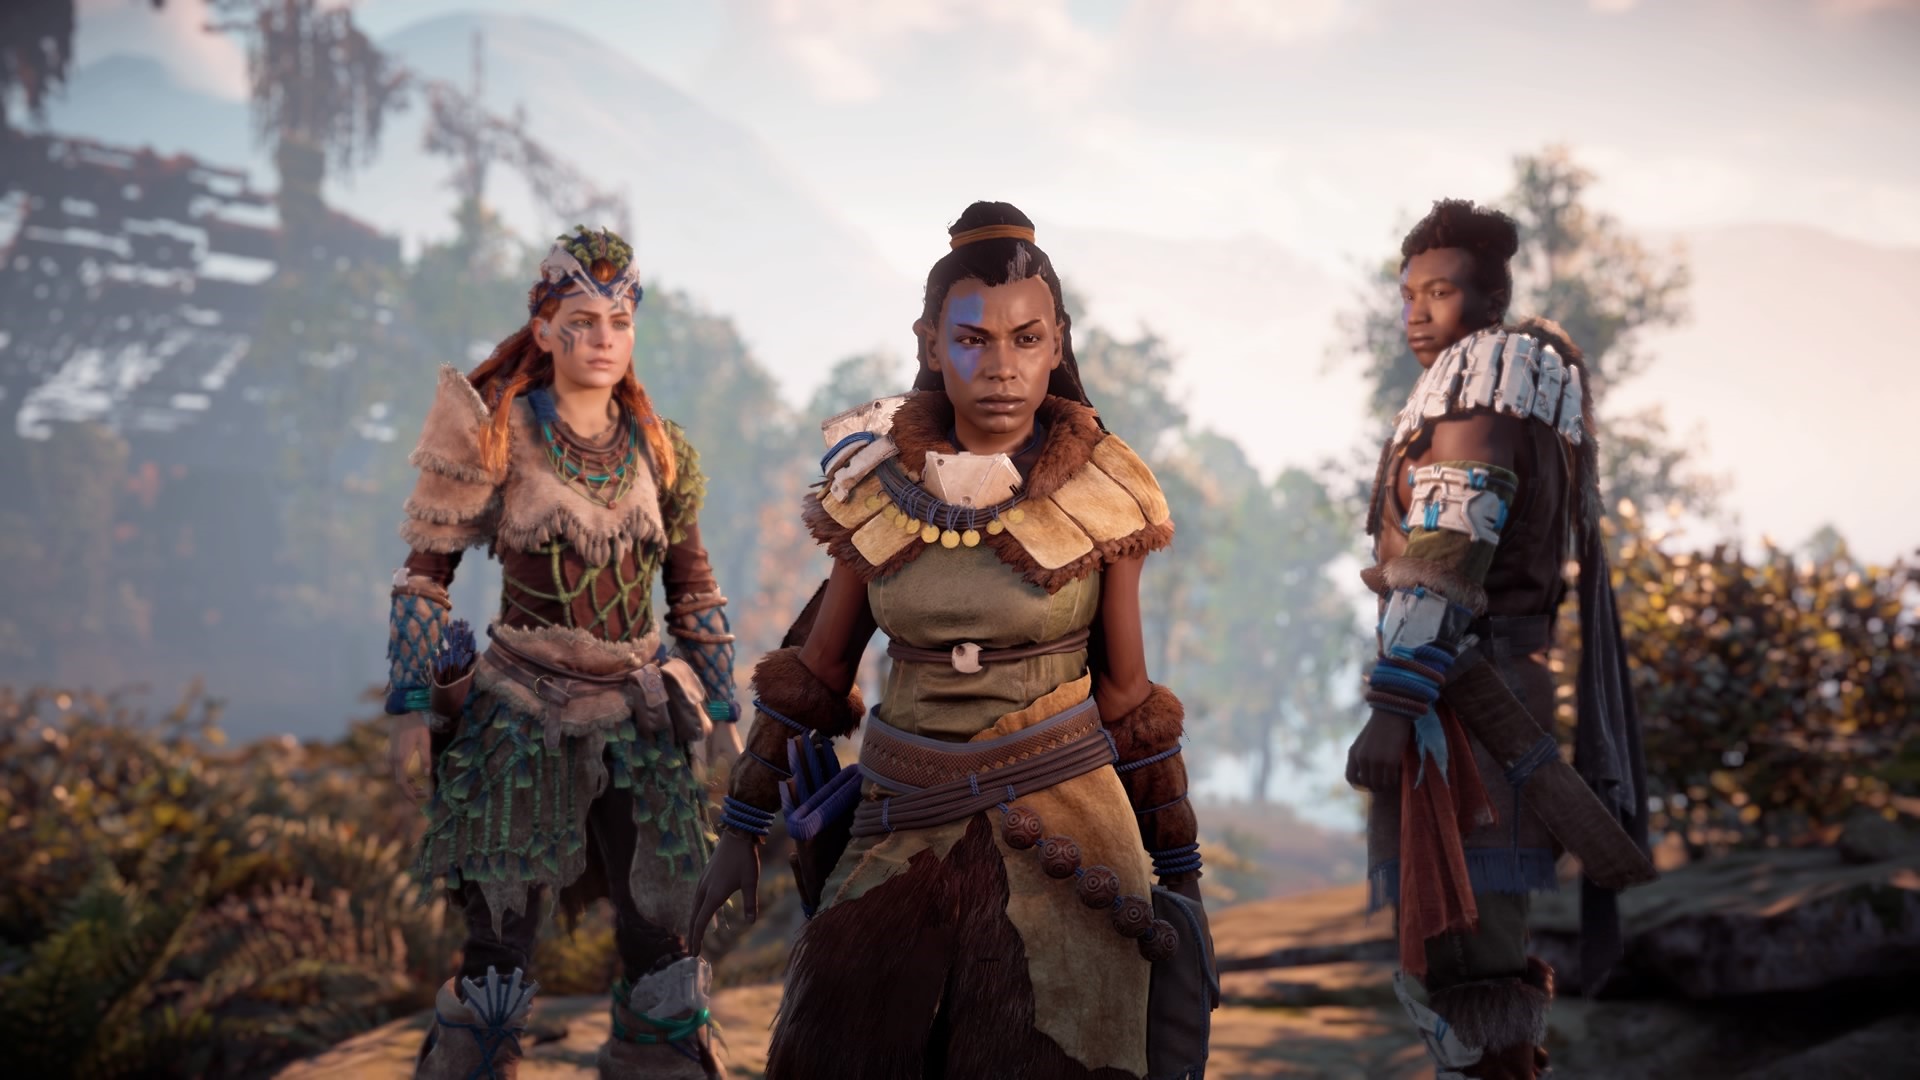
Sona led a war party of Braves to Meridian. Speaking with Aloy after arriving, Sona expressed great discomfort at being there. However, she was firm in her resolve to fight against the threat to the Nora and the world, though she and the others in the war party could not conceive of such a thing.[7]
Depending on Aloy's actions during her adventure, Sona would join the Battle of the Alight against the machines defending HADES, or sit the battle out due to injuries.[8][note 1]
Following the battle's end, Sona led the the Nora back to the Sacred Lands, save for Varl, who chose to pursue Aloy. According to Varl, as the War-Chief, Sona understood, but as his mother, she was unhappy with his decision.[9]
Varl was hesitant to speak about his mother to Zo, which prompted her to ask Aloy about Sona. Aloy explained the strained relationship Varl had with Sona, and of her position as the War-Chief of the Nora. Aloy believed that Varl was worried that Sona would scare Zo off, to which Zo expressed that she'd like to see Sona try.[10]
Personality
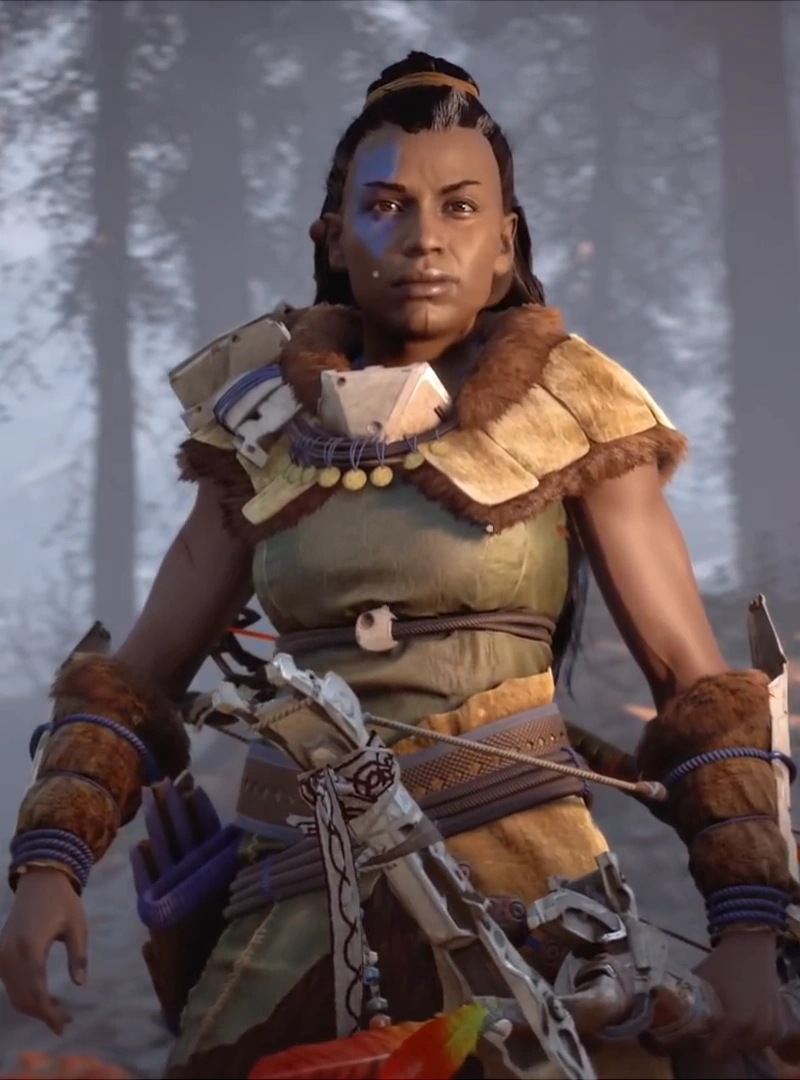
Sona is extremely serious and driven. She takes her responsibilities as War-Chief with the utmost seriousness. She is a highly experienced and capable warrior and leader, having the full respect of the Braves and the Nora in general. Her impossibly high standards put a strain on a relationship with her son, raising her children by discipline more than affection.
Sona is deeply religious, adhering to the taboo regarding ruins of the Old Ones and showing a general disgust for the Sundom.[7] However, should the situation be justified, she can be persuaded to make exceptions.[4]
Trivia
- If Redmaw has not been completed, Sona will be one of the three who join Aloy in the final fight in The Face of Extinction. If the sidequest is completed, Sona will be found wounded just beneath the Alight, but insists she will live.
- Teb describes Sona as having long white hair,[11] despite her hair being mostly black with some grey streaks in her hair. Her concept art has similar hair to her final design, making it unlikely that Sona was ever intended to have white hair.
- Sona's outfit serves as the basis for the Nora Silent Hunter Master outfit.
- If Shortage of Supplies hadn't been completed prior to The Heart of the Nora, Sona can be found simultaneously at Mother's Crown and in All-Mother Mountain.
- Due to both of her children being dead by the end of Horizon Forbidden West, Sona will likely never receive the status of Matriarch upon the birth of her upcoming grandchild, unless she has another child. This is because Matriarchs are women with two generations of living progeny (children and grandchildren).
Gallery
")
Official Artwork
")
Concept Art
")
References
- ↑ As mentioned by Zo during The Wings of the Ten.
- ↑ The Proving
- ↑ 3.0 3.1 3.2 The War-Chief's Trail
- ↑ 4.0 4.1 Revenge of the Nora
- ↑ Shortage of Supplies
- ↑ 6.0 6.1 The Heart of the Nora
- ↑ 7.0 7.1 As mentioned by Sona during The Looming Shadow.
- ↑ The Face of Extinction
- ↑ As mentioned by Varl during Reach For The Stars.
- ↑ As mentioned by Zo in the Base.
- ↑ As mentioned by Teb during The Womb of the Mountain.
Notes
- ↑ The latter appears to be canon, given Talanah's presence and position during Horizon Forbidden West.
| Nora | |
|---|---|
| High Matriarchs | Jezza - Lansra - Teersa |
| Braves | Sona (War-Chief) - Aloy - Bast - Den - Dran - Ferl - Jarm - Marea - Muns - Resh - Teb's father - Vala - Varl |
| Seekers | Aloy - Sona - Teb - Varl |
| Outcasts | Brom - Cren - Grata - Jom - Kam - Kurnst - Nora Keeper - Rost - Yun |
| Other members | Alana - Arana - Dral - Enara - Fia - Grist - Jarg - Jun - Karst - Loha - Lut - Nakoa - Olara - Orn - Solai - Taim - Thok - Yan |