THIS PAGE DESCRIBES THE OUTDATED CONTENT THAT NEEDS UPDATING.
This page contains information about the items that can be found throughout the world. This contains:
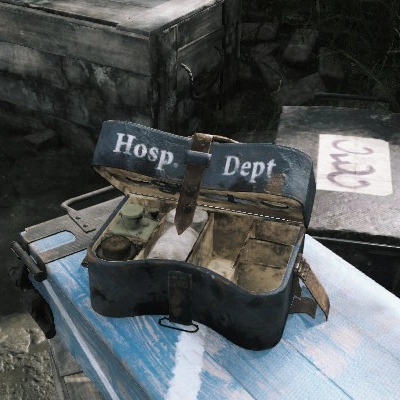
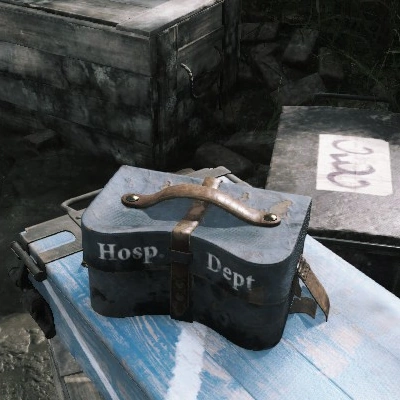
Medkit
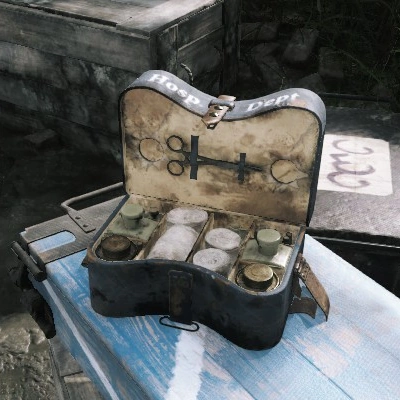
The Medkit is an interactable healing item that can be found on the map. Interacting with a Medkit instantly stops bleeding and heals 100 health after 2 seconds. Three medkits spawn at every Resupply Point. Medkits dropped by medic zombies killed by explosives will become damaged, and can't be used to heal.
Cannot be used by the same player twice.
-
 Unused Medkit
 -
 Medkit used once
 -
 Medkit used twice
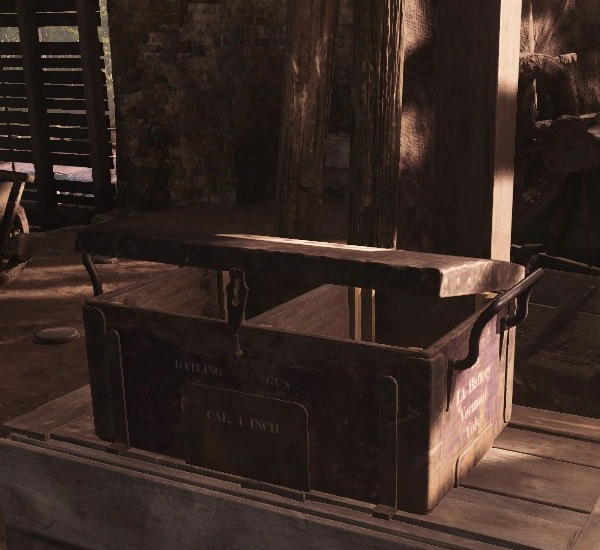
Ammunition Boxes, Special Ammunition Boxes and Custom Ammo Boxes
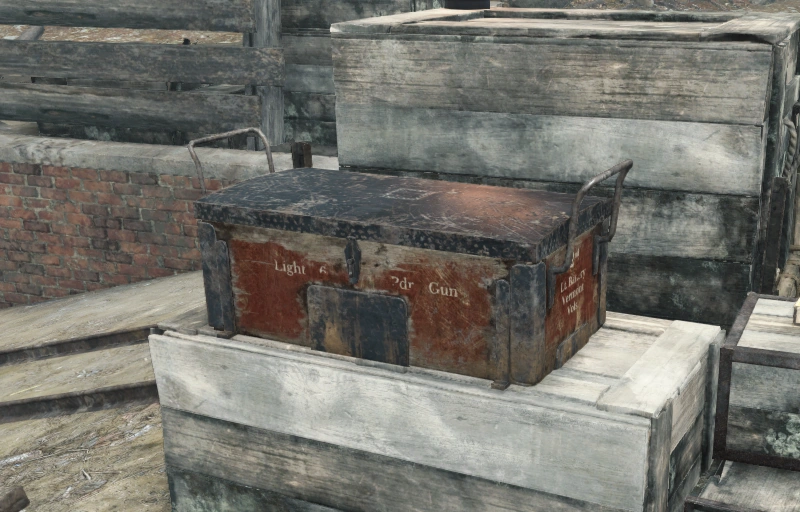
Ammunition Boxes and - more rarely - Special Ammo Boxes can be found throughout the map. Special Ammo Boxes will resupply Crossbow bolts, Bomb Lance harpoons and custom ammo, while all other ammunition can be resupplied with the regular ammo boxes. One special, one custom and three normal ammunition boxes spawn at every Resupply Point. Ammunition can also be found in ammo sleeves. They will only resupply one specific regular ammo type and resupply fewer bullets than ammunition boxes.
Cannot be used by the same player twice.
The exact number of bullets that a box or sleeve will resupply depends on your reserve ammo of that type. For example, resupplying your Lebel 1886 at an ammo box will yield 5 bullets, unless your sidearm is an Uppercut, which will increase yield by 9.
- Compact ammo is a red package

- Medium ammo is a bright blue package

- Long ammo is a yellow package

- Shotgun ammo is a green package

- Custom Ammo Box can spawn at Resupply Point, Towers, Watch Towers and Arsenals.
Custom Ammo Box can be used while holding any valid weapon across all available ammo sizes, for example the Incendiary box can be used with weapons that can equip Compact Incendiary, Medium Incendiary, or Long Incendiary.
Each ammo type listed below can be found in Custom Ammo Boxes:
Bullets
- Full Metal Jacket (FMJ)
- Dumdum
- Explosive
- High Velocity
- Incendiary
- Poison
- Spitzer
Shells
- Dragonbreath
- Flechette
- Pennyshot
- Slugs
Bolts/Arrows
- Explosive Bolt
- Frag Arrow
- Poison Arrow
- Poison Compact Bolt
-
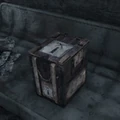
 Unused Ammunition box
 -
 Ammunition box used once
 -
 Ammunition box used twice
 -
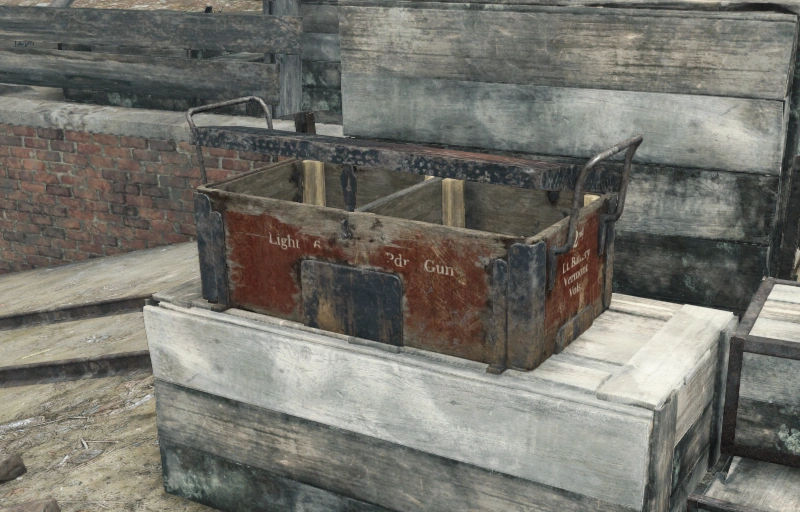
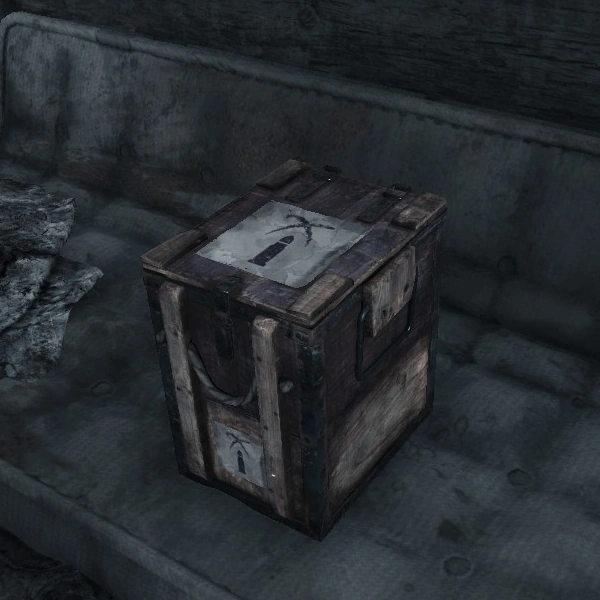
 Unused Special Weapons Box
 -
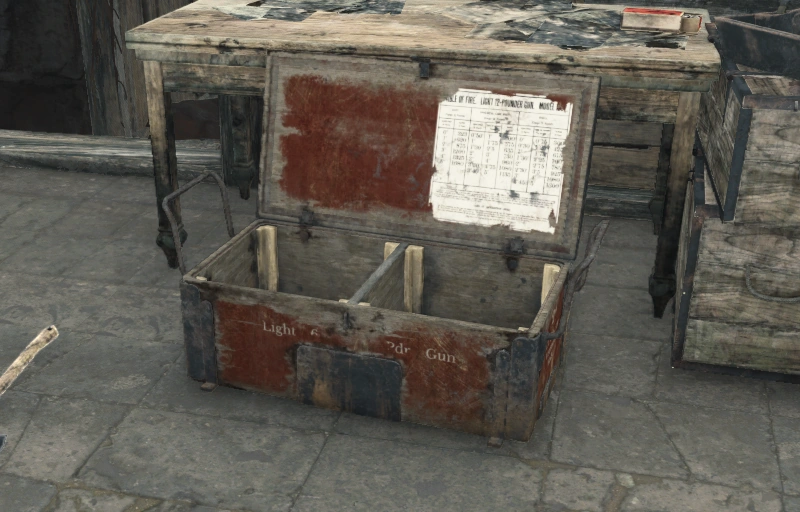
 Special Weapons Box used once
 -
 Special Weapons Box used twice
 -
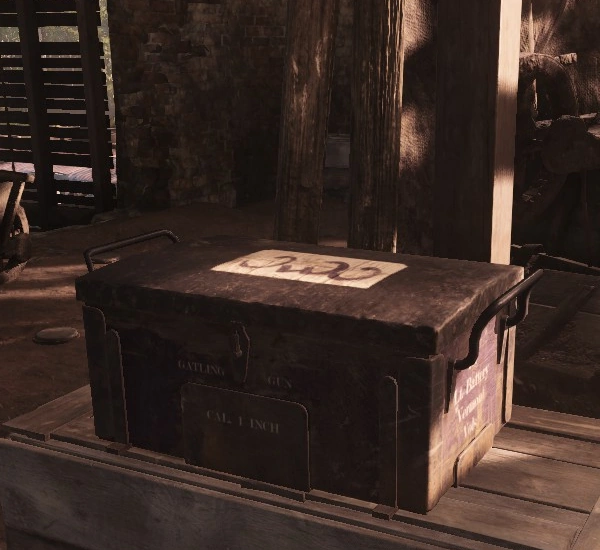
 Unused Custom Weapons Box
 -
 Custom Weapons Box used once


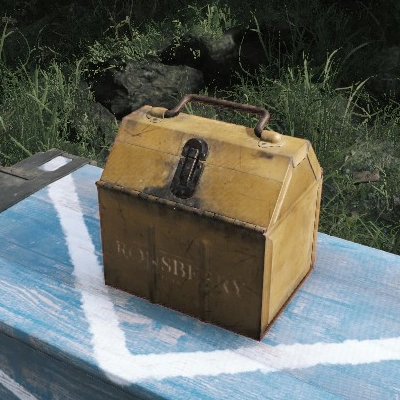
Toolbox
The Toolbox is a World item that provides Consumables or replenishes Tool charges. Up to one or two may be found in each compound, and one is guaranteed at each Resupply Point.
Cannot be used by the same player twice.
Looting a Toolbox will randomly grant a single consumable or replenish a tool charge (such as trip mines and First_Aid_Kits), if possible. Packmule Trait doubles the number of consumables or tool charges that can be received.
The following consumables can be looted from Toolboxes:
- Dynamite Stick
- Waxed Dynamite Stick
- Dynamite Bundle
- Big Dynamite Bundle
- Sticky Bomb
- Frag Bomb
- Chaos Bomb
- Hellfire Bomb
- Hive Bomb
- Weak Vitality Shot (Weak)
- Weak Antidote Shot (Weak)
- Weak Stamina Shot (Weak)
-
 Toolbox unused
 -
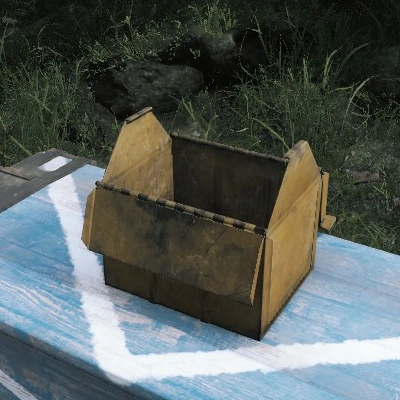
 Toolbox used once
 -
 Toolbox used twice

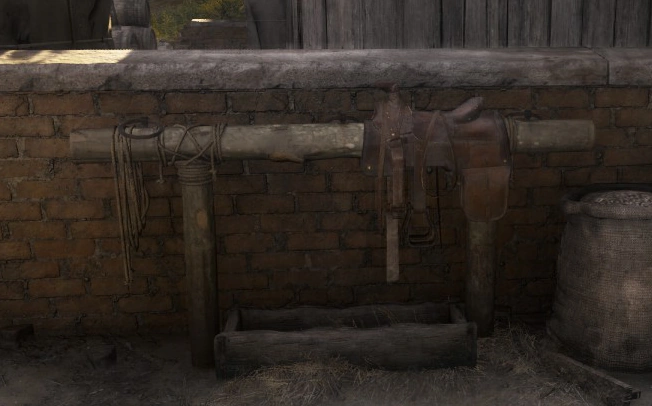
Saddles
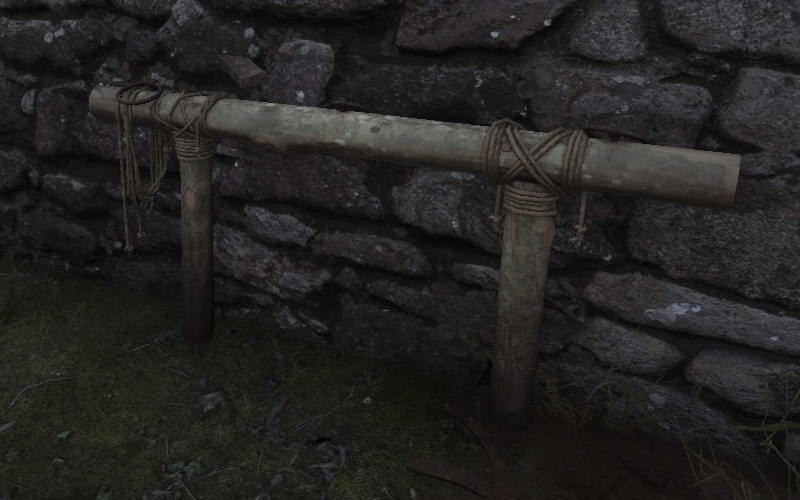
Saddles can have a weapon holster and/or saddle bag attached to them.
The Saddle Bag is a World item that provides Consumables or replenishes Tool charges. If player's Consumables and Tools slots are full, Saddle Bag will give Hunt Dollars. In Soul Survivor, the Hunt Dollar reward for the Saddle Bags is replaced by an ammo replenishment.
Cannot be used by the same player twice.
Looting a Saddle Bag will randomly grant a single Consumable or replenish a tool charge (such as trip mines and First_Aid_Kits), if possible. Unlike Toolboxes, Packmule Trait doesn't work with Saddle Bags.
The following consumables can be looted from Saddle Bags:
- Concertina Bomb
- Big Dynamite Bundle
- Frag Bomb
- Ammo Box
- Antidote Shot
- Stamina Shot
- Vitality Shot
- Regeneration Shot
Cocoon
The Cocoon is a World item that provides random Beetle. Chance of getting Beetles is the same for all Beetles. As with most interactable world items, Cocoons have two charges and cannot be used by the same player twice. Works with Packmule Trait.
-
 Cocoon unused
 -
 Cocoon used once
 -
 Cocoon used twice
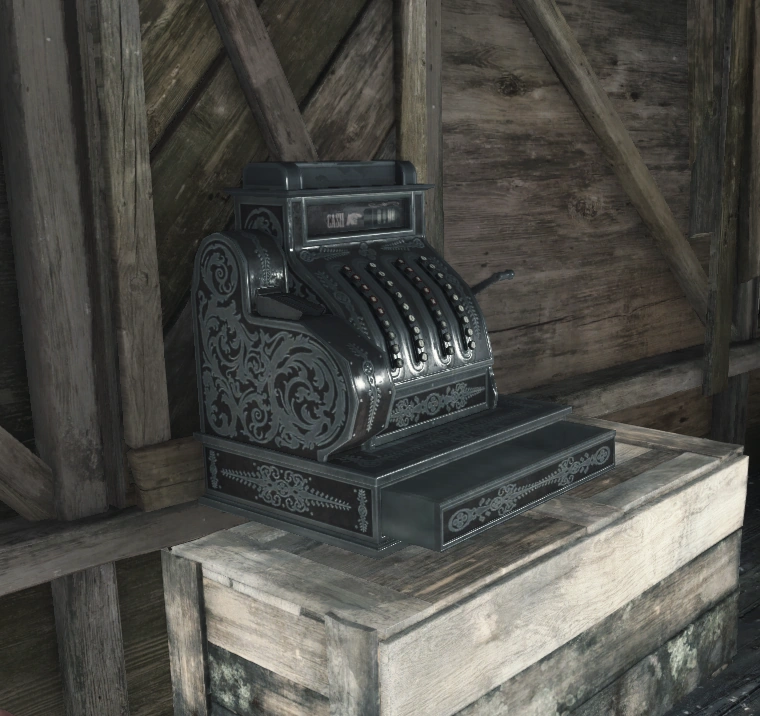
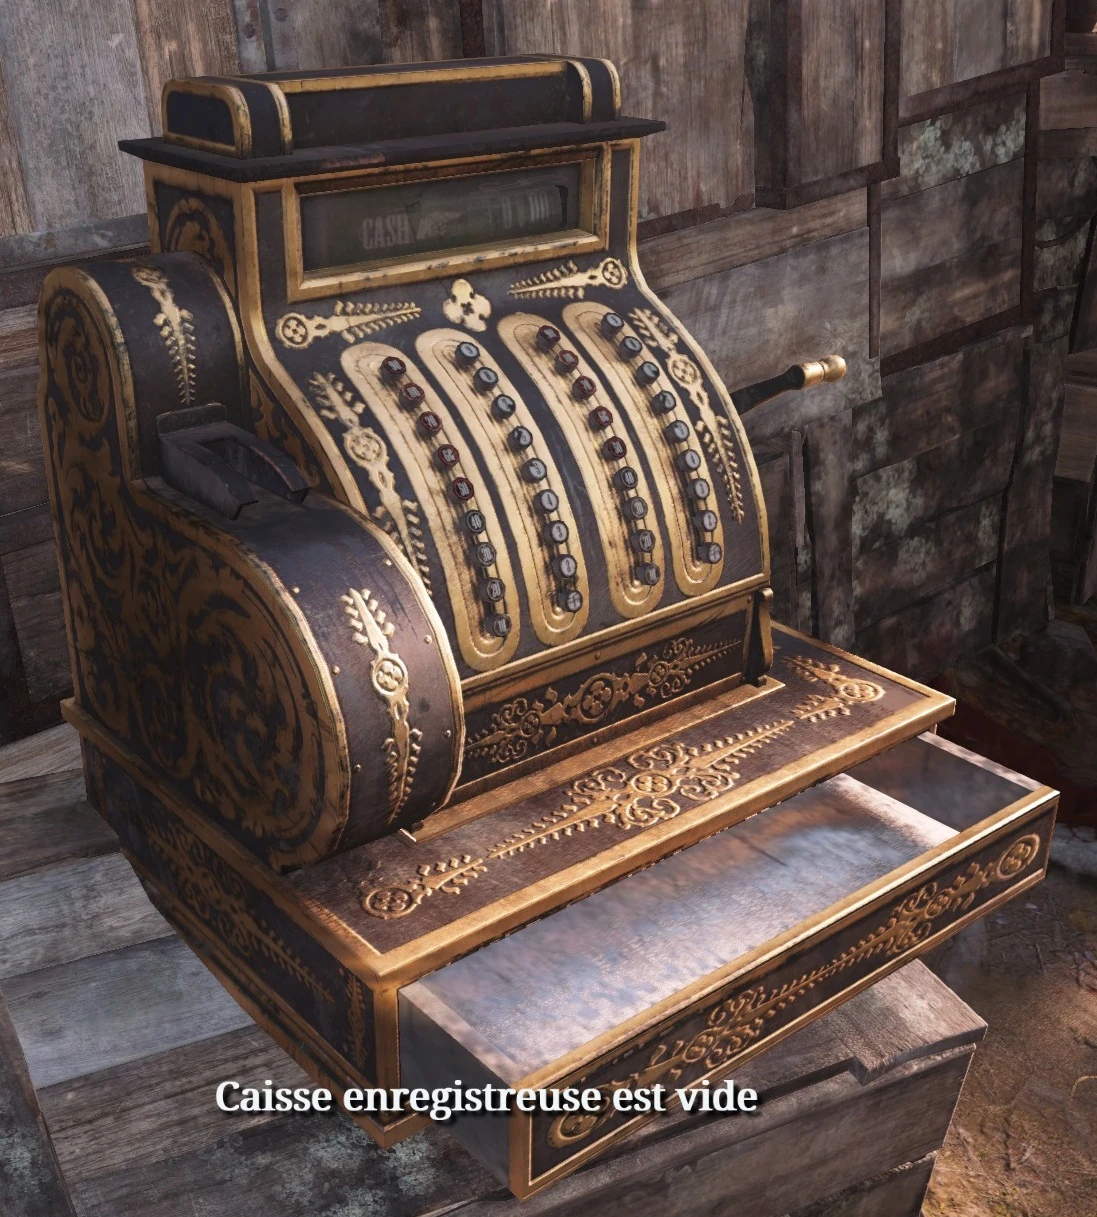
Cash Register
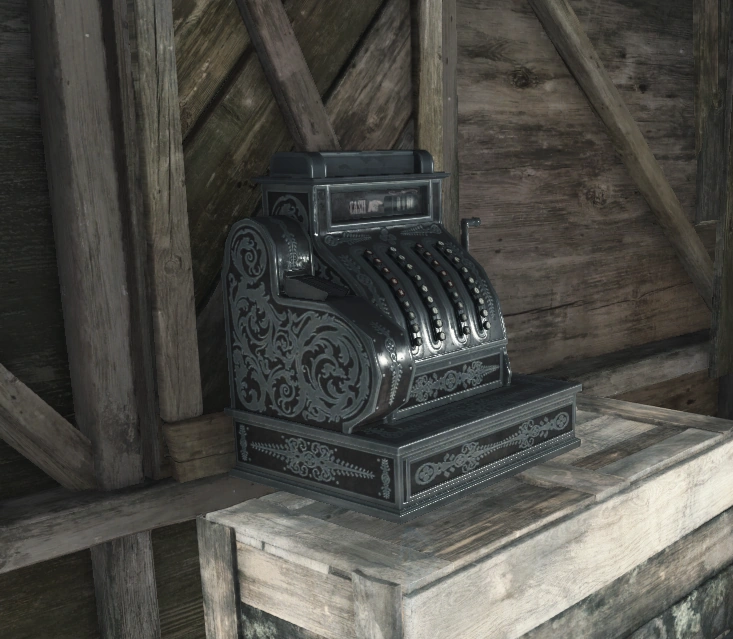
Cash Registers are interactable items that spawn randomly in various places on the map which yield Hunt Dollars when looted. As with looting Hunters, the possible dividends are: $50, $75, $100, $150, $200, $500 or $1000, with the chance for a higher value decreasing exponentially.
Cannot be used by the same player twice.
If the player fails to extract their Hunter, any money looted from Cash Registers, bodies, or coin purses is lost.
-
 Unused cash register
 -
 Cash register used once
 -
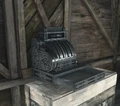 Depleted cash register (used twice)

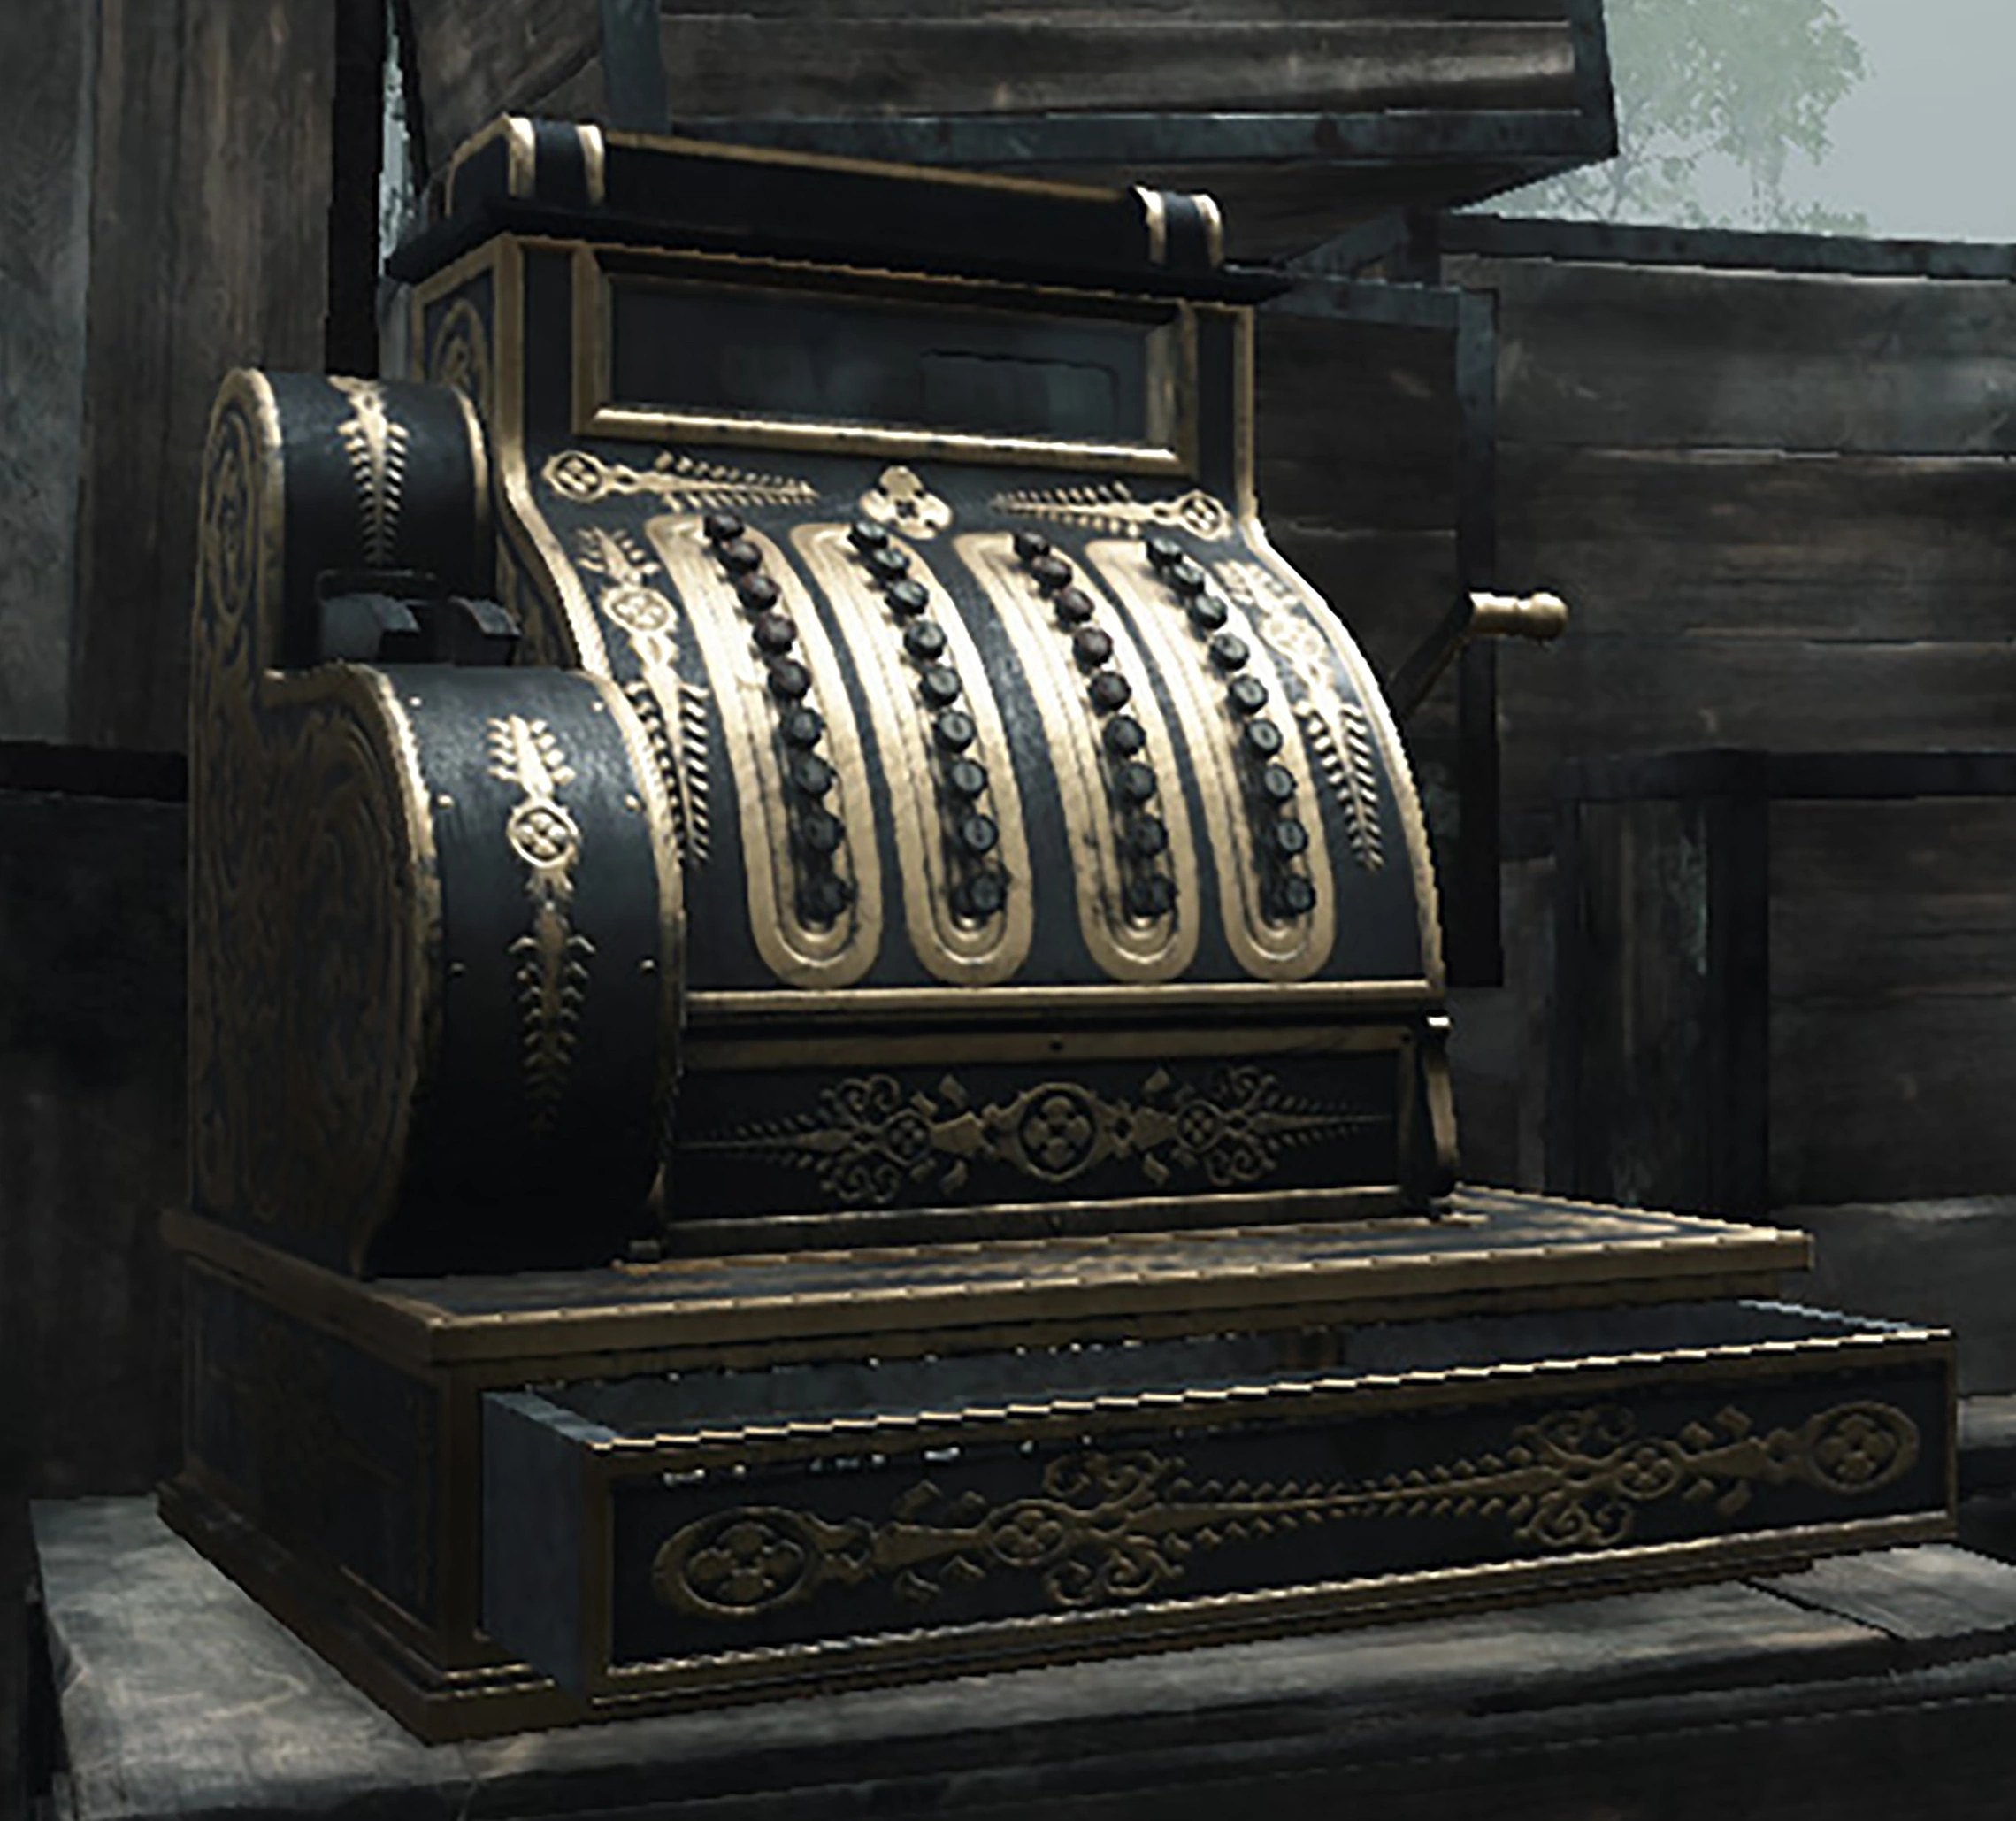
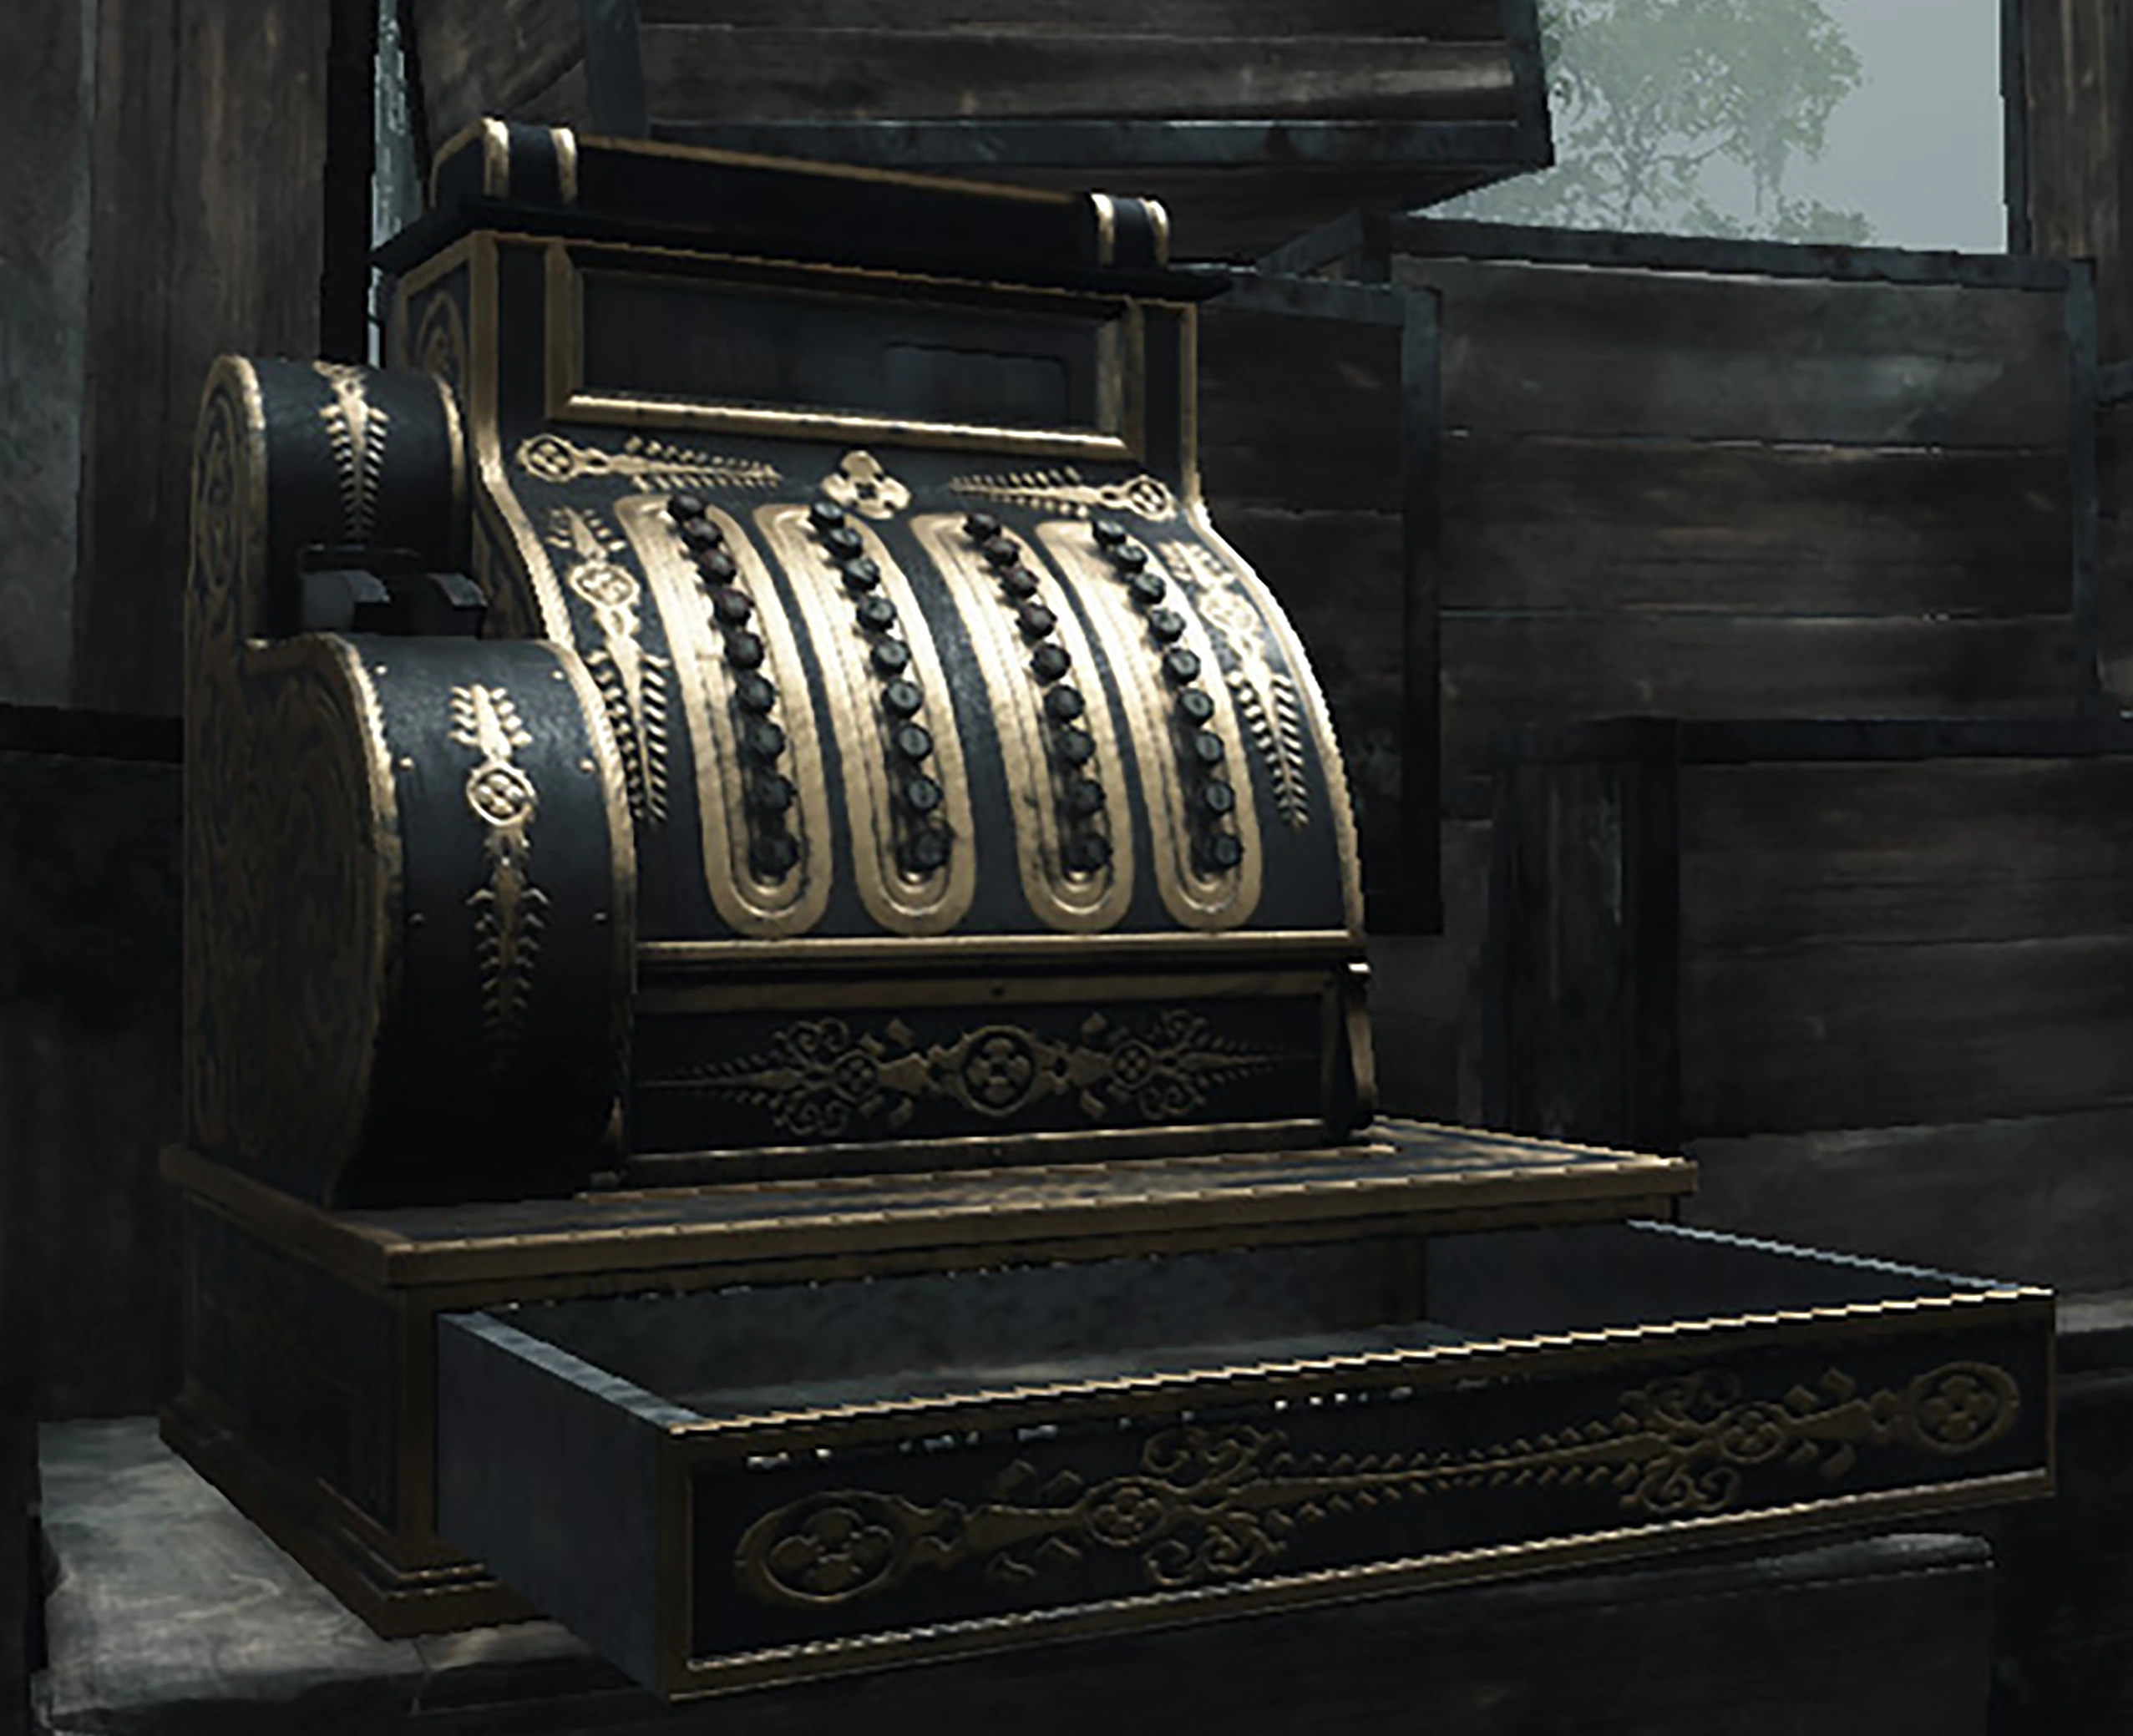
Golden Cash Register
Golden Cash Registers, an extremely rare variant of the Cash Register, will always award 50 Blood Bonds.
If the player fails to extract their Hunter, any Blood Bonds looted from golden Cash Registers or Coin Purses is lost.
Cannot be used by the same player twice.
-
 Golden Cash register unused
 -
Golden Cash register used once
-
 Golden cash register used twice
Lootable Items
Lootable items have unlimited charges, but cannot be used by the same player twice.
- Hunt Dollars Purse
- Awards 1 - 25 Hunt Dollars

- Awards 1 - 25 Hunt Dollars
- Blood Bonds Purse
- Awards 1 - 3 Blood Bonds

- Awards 1 - 3 Blood Bonds
- Trait Charms
- Interacting with the Charm will grant your Hunter the displayed Trait.
- Trait Charms can be found in the world or after killing Meatheads, that have a 50% chance to drop a Trait Charm when they are killed.
- Trait charms are also dropped by the Hellborn with 100% chance
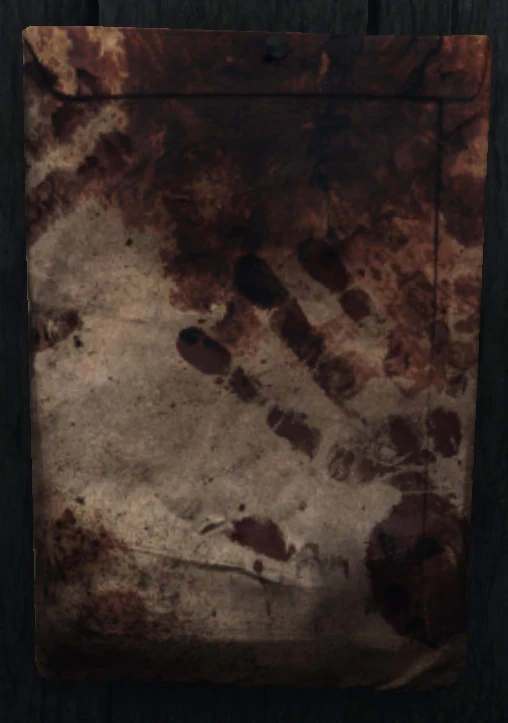
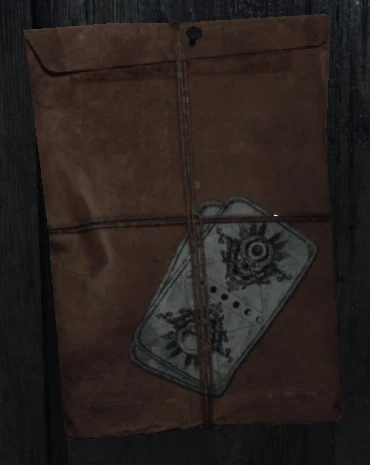
- Envelopes/Posters
- Awards 1000 Hunter XP
- Awards 500 Bloodline XP
- Awards 3-6 Upgrade Points
If the player fails to extract their Hunter, any money looted from Cash Registers, dead Hunters, or Coin Purses is lost.
-
 Hunt Dollars Purse
 -
 Blood Bonds Purse
 -
 Trait Charm
 -
 Hunter XP Poster
 -
 Bloodline XP Poster
 -
 Upgrade Points Poster

Workbench
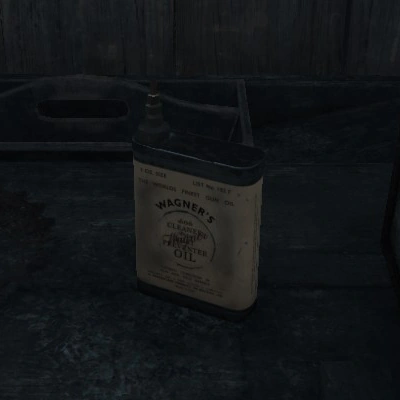
Workbench is in-world entities that appear in every compound. They have a chance to spawn Gun Oil, a Blueprint, Hunt Dollar or Blood Bond Purses, and specific Weapons. Any weapons spawned at Workbenches are variants, not base weapons.
Gun Oil is a rare lootable item that unlocks the next available unlock in the weapon family the user currently has equipped. If weapon family is completed Gun Oil instead gives a random available unlock. Any previous progress toward that unlock is not carried over to the next unlockable item, if any.
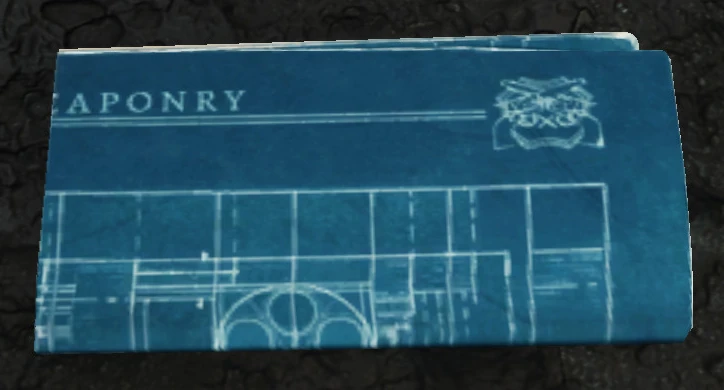
Blueprint is a rare lootable item that unlocks 3 random available unlocks from any weapon family. Any previous progress toward that unlock is not carried over to the next unlockable item, if any.
Cannot be used by the same player twice.
-
 Blueprint
 -
 Gun Oil
Throwable Lanterns
Lanterns can be found throughout the map. Hunters can pick them up, but they are dropped on the ground when switching to other equipment. Lanterns are turned on automatically when they are picked up; they produce light and can be used to improve visibility in dark areas. They can also be turned off and thrown, dealing blunt damage but not breaking where they land.
When thrown, lanterns spread fire in a small area, similar to the effect of a Fire Bomb. The flames will last for 25 seconds and can set fire to Hunters-downed or living-oil slicks, destroy barrels, or break nearby lamps. Unlike lamps, they cannot be shot (unless they are mid-air) or otherwise destroyed in any way besides by throwing them while they are turned on.
- Salveskin decreases burn damage and speed of the burning status effect, both while alive and while downed.
- Pitcher increases throwing range for all items using the aim helper.
-
 Throwing lantern to set Meathead ablaze
 -
 Lantern shot mid air
 -
 Throwning lantern on the ground
 -
 Throwing turned on lantern at night
 -
 Turning lamp on and off
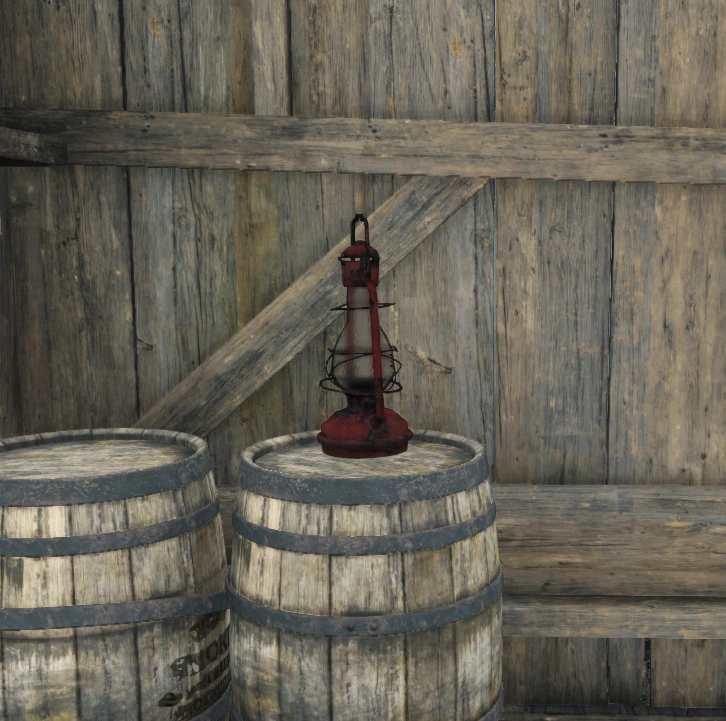
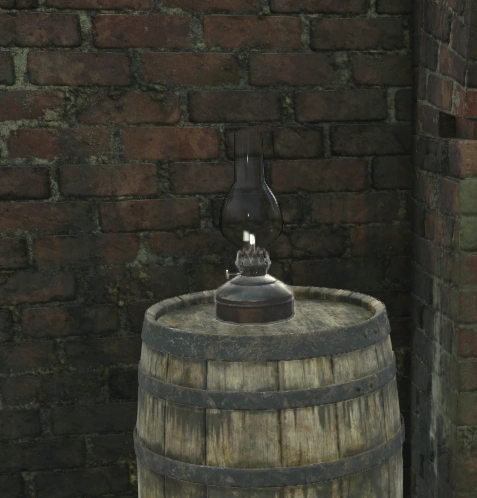
Static Lamps
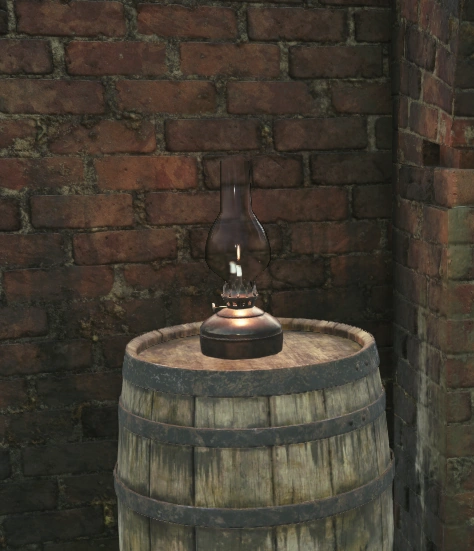
Static Lamps can be found hanging on walls and lampposts or on the floor/furniture. Interacting with them turns them on or off. Shooting or meleeing them while they are on sets the surrounding area on fire. Shooting or meleeing them while they are off spills a small amount of oil which can be ignited by any kind of fuse or other flammable object.
-
 Lamp that's been turned off
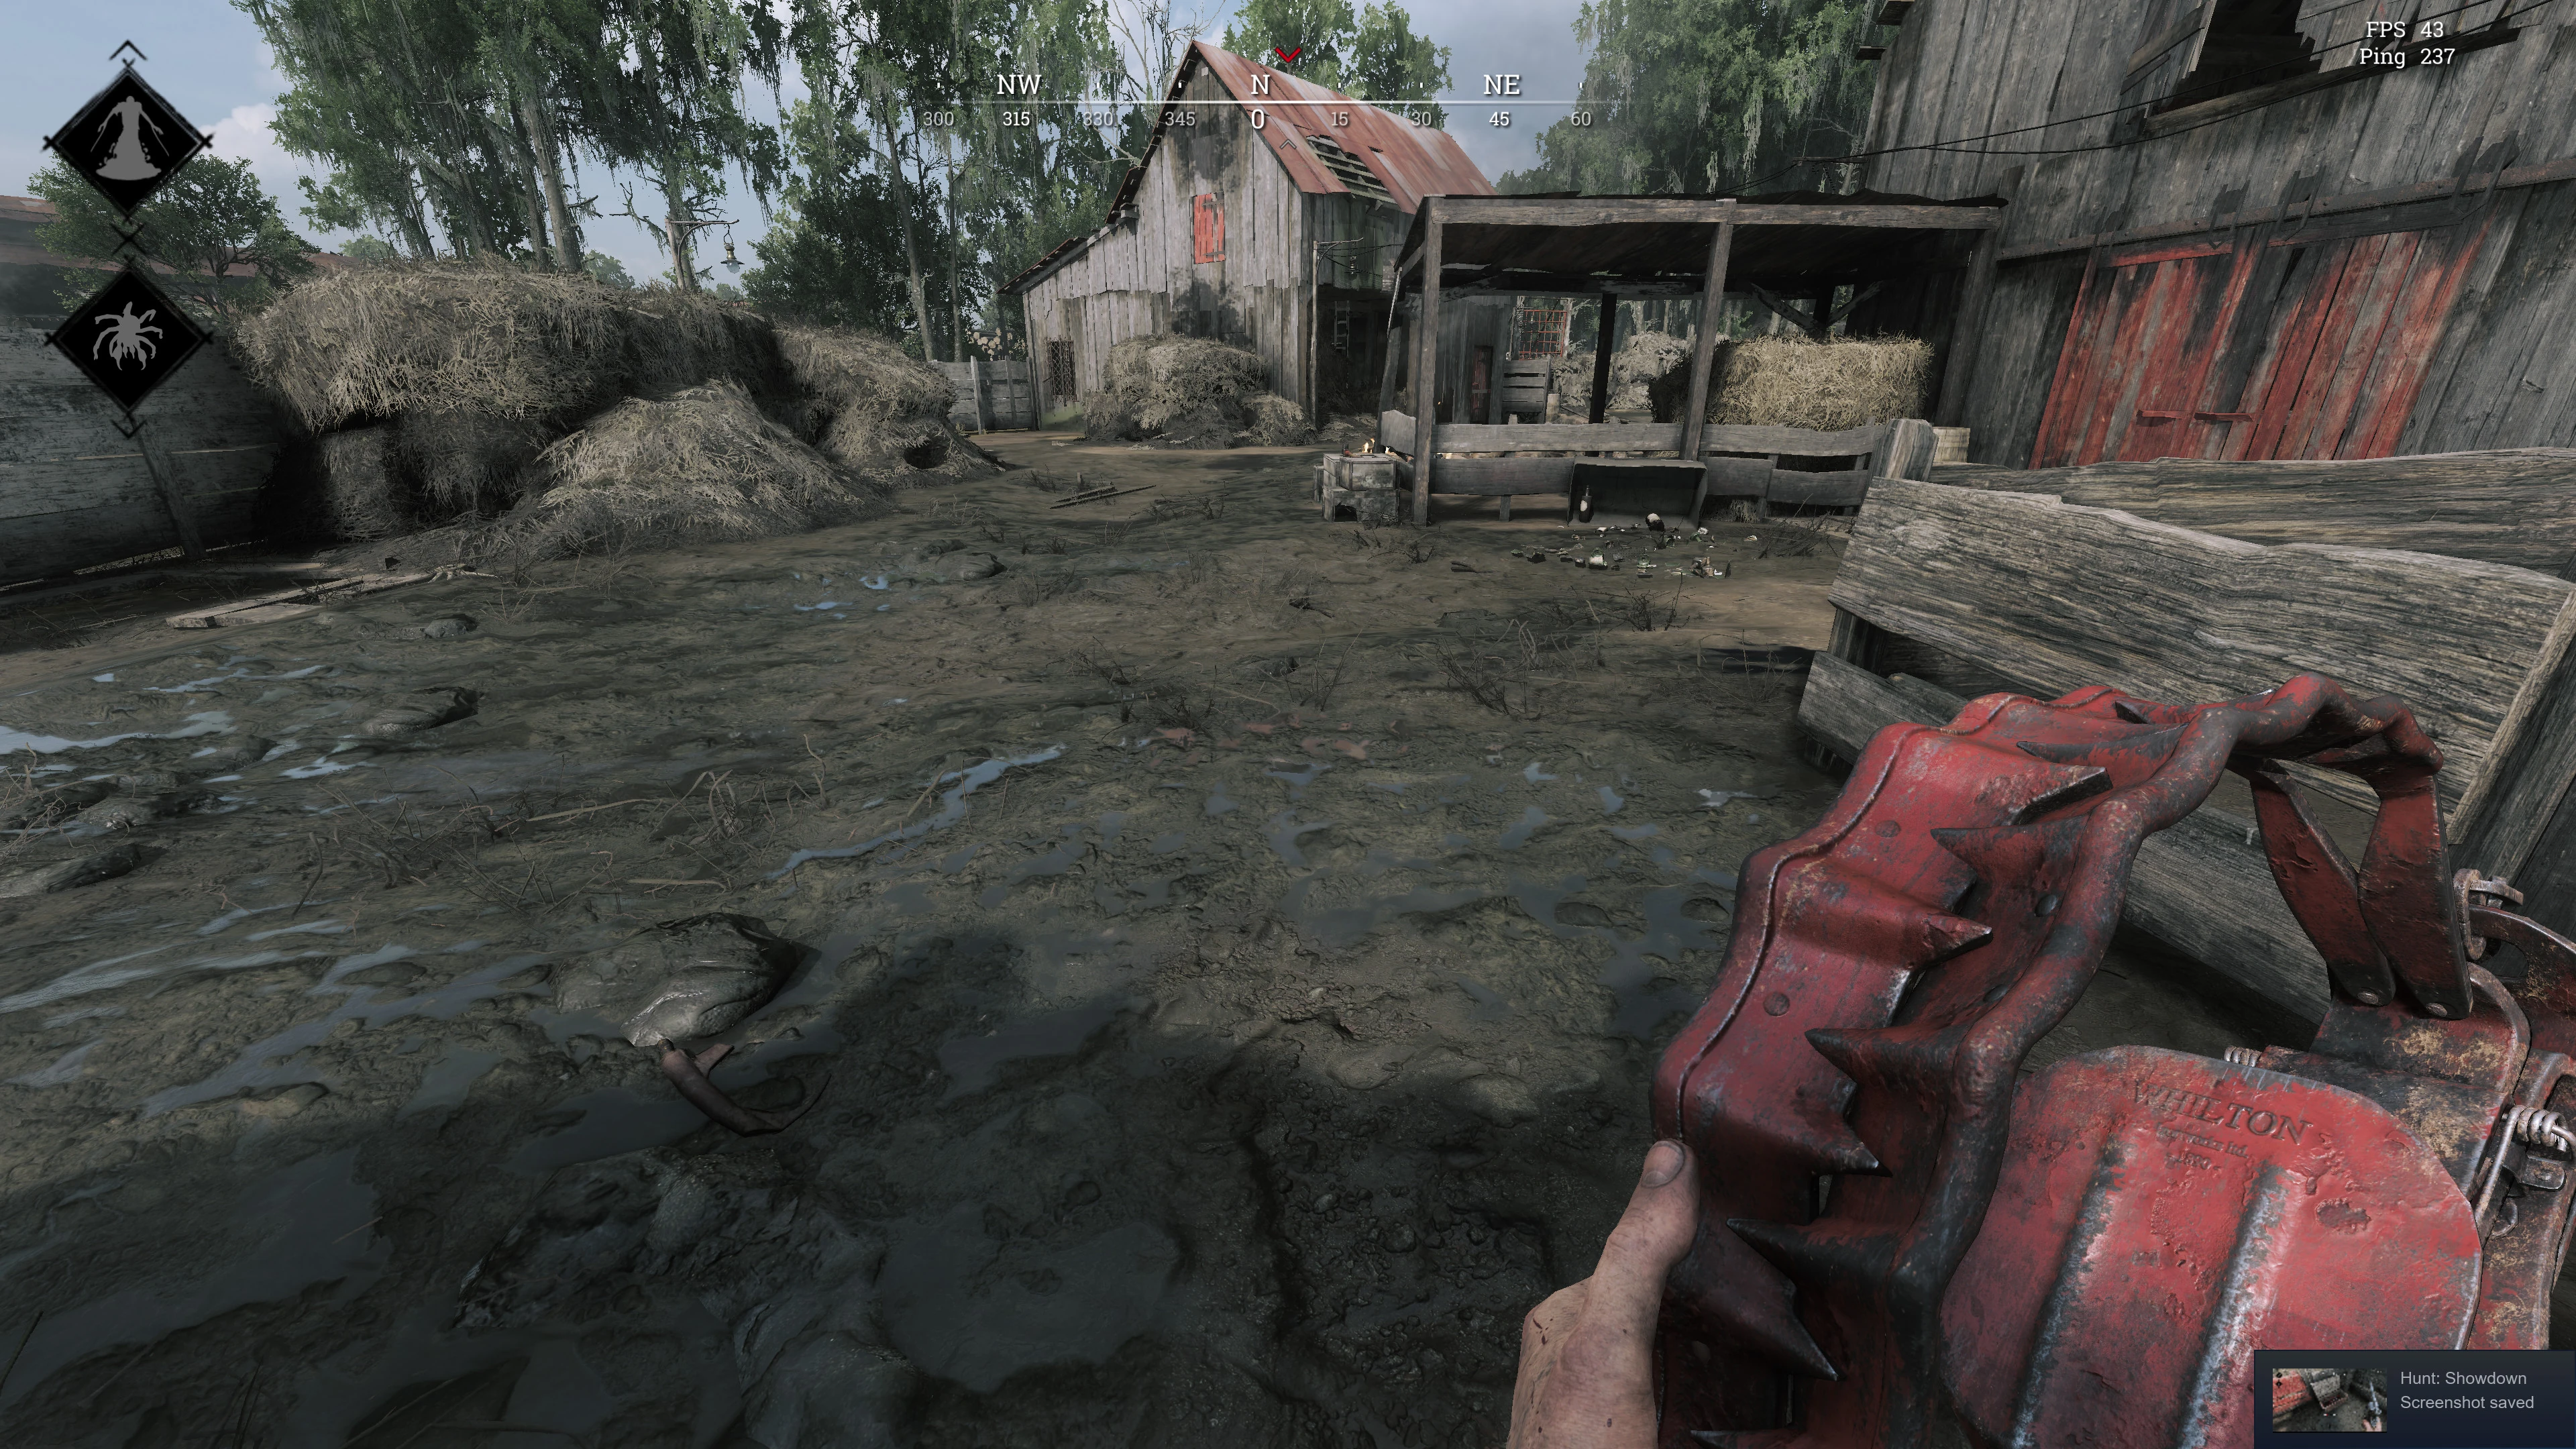
Bear Traps
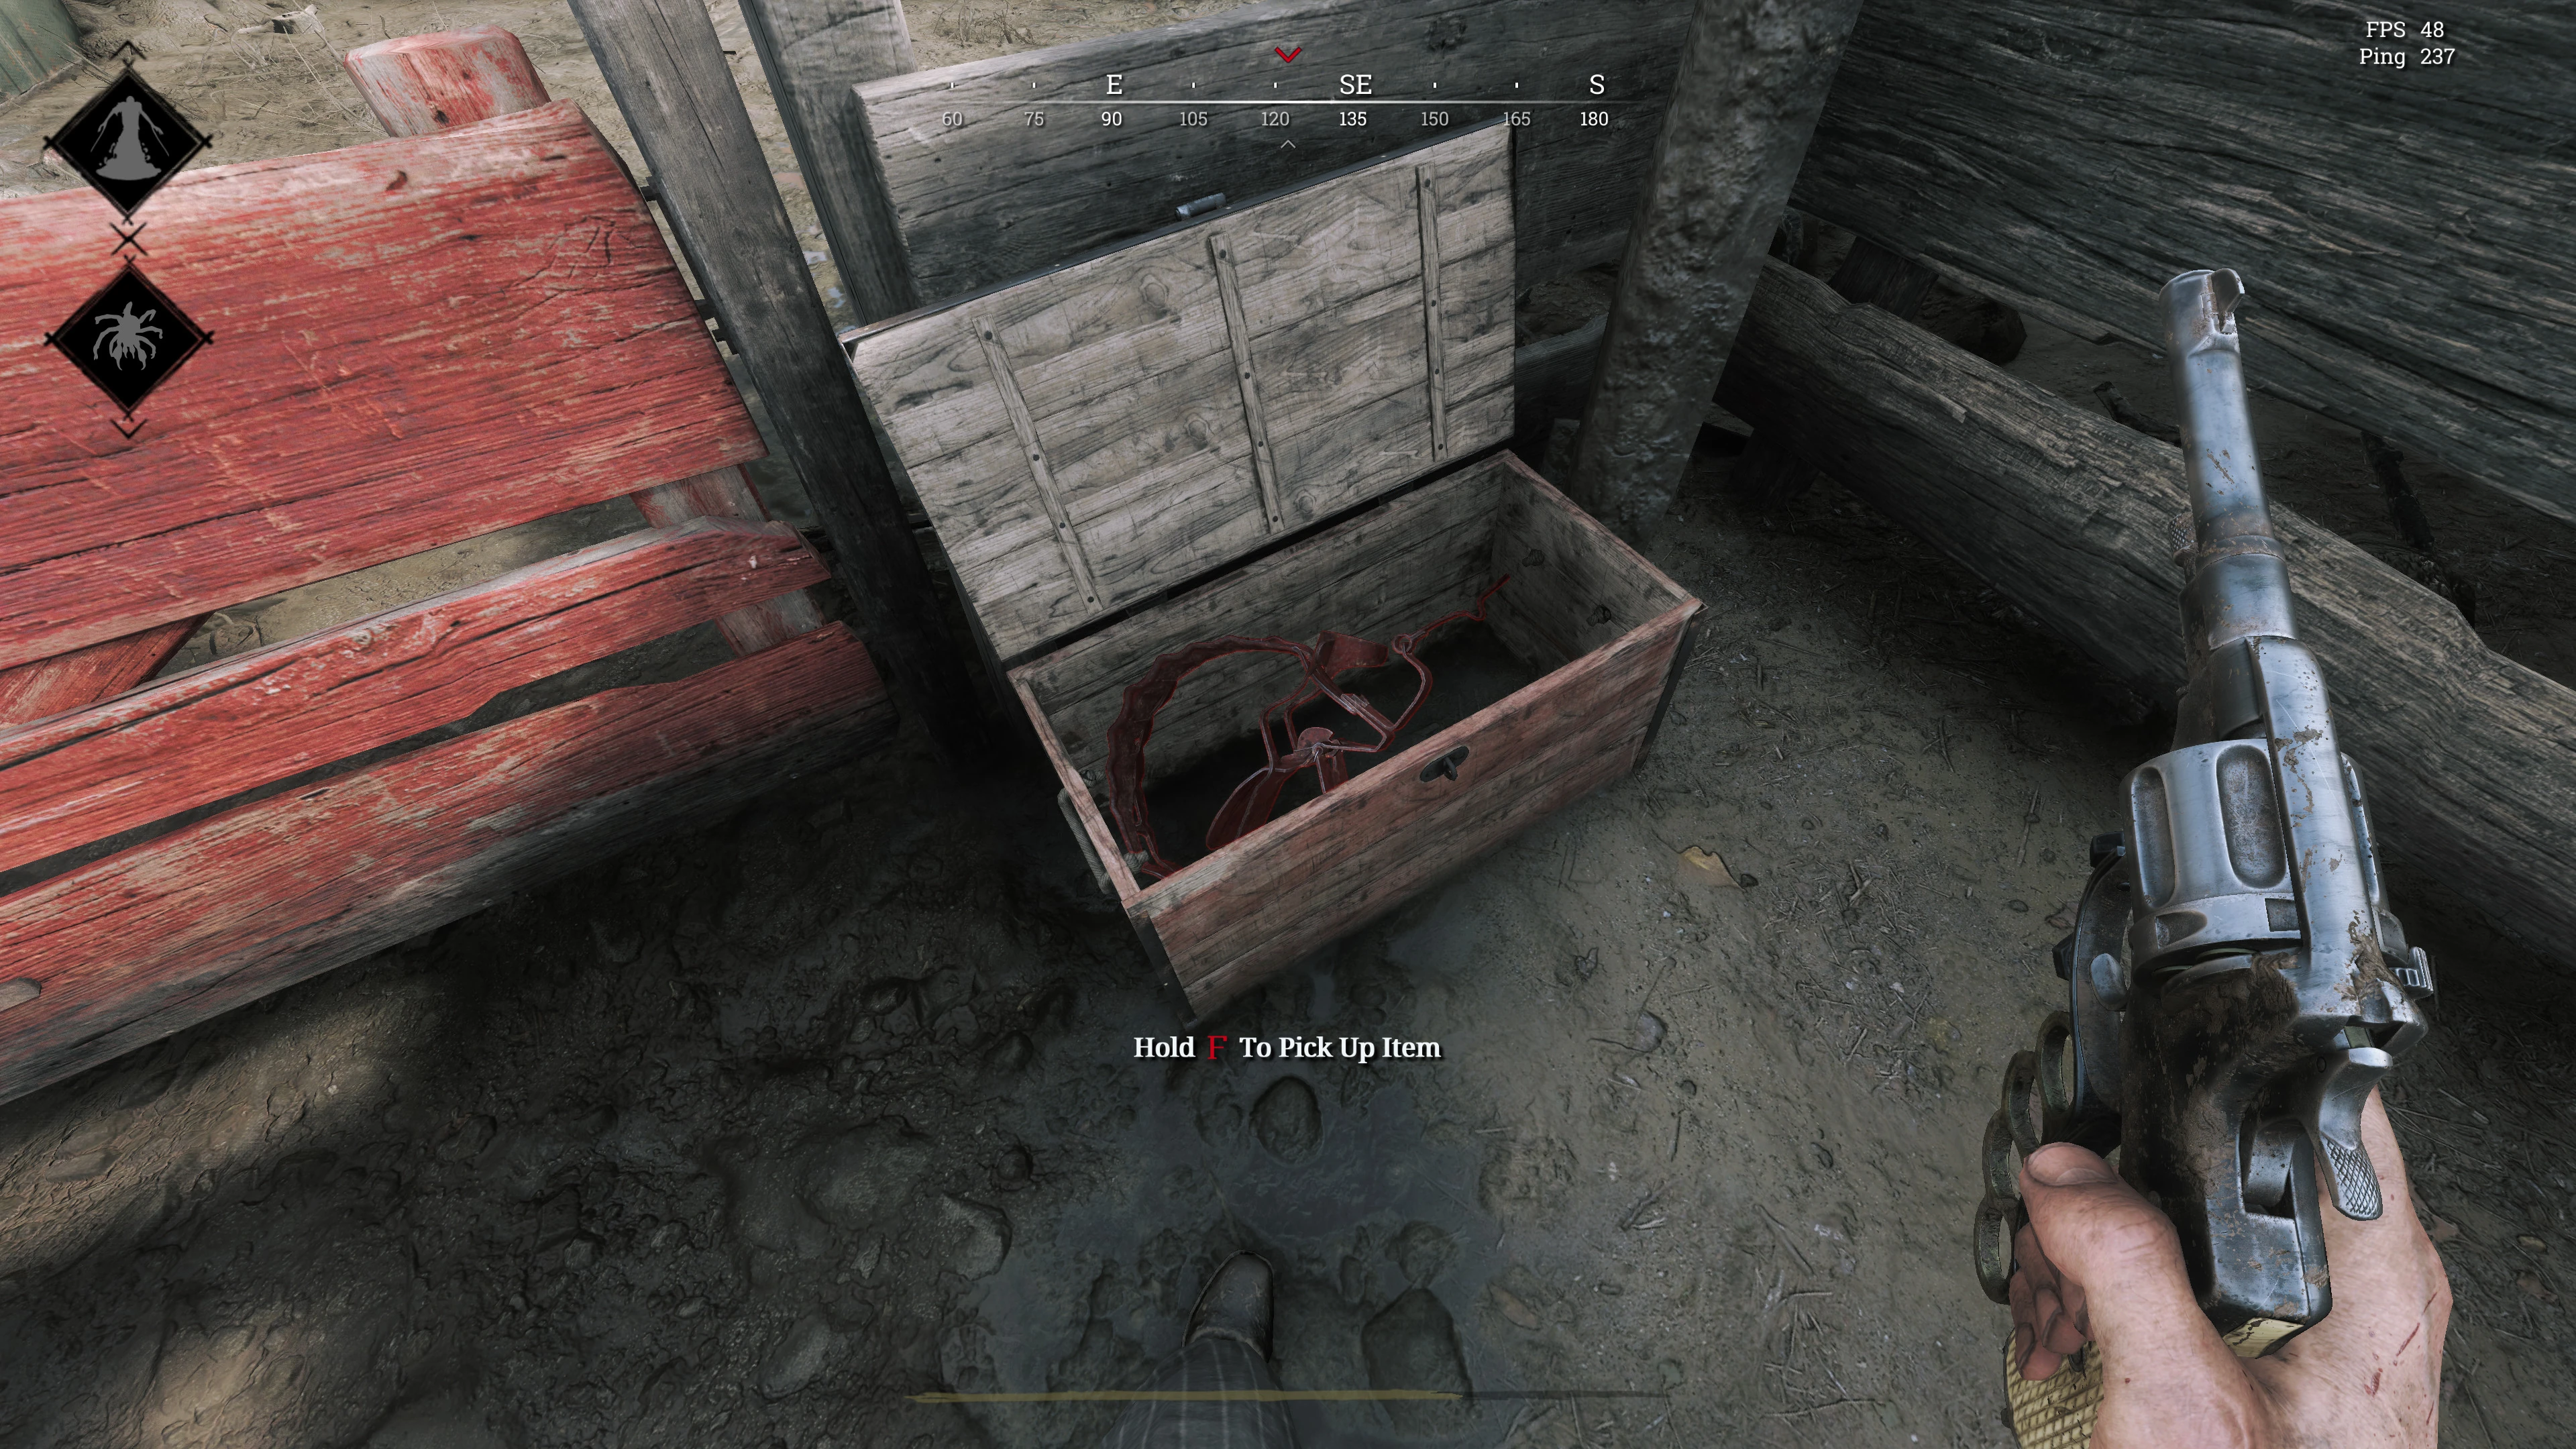
A large trap which cannot be jumped over. Triggering the trap causes 82 damage, inflicts heavy bleeding, and makes a loud metallic clanking noise. Hunters with the Poacher Trait can disable the trap quietly, and those with Vigilant can see it through walls within the radius of the Trait. Meleeing a bear trap that has been set will spring it, causing no damage. Bear traps can be used as a melee weapon as well, though their stamina consumption is immense.
Since Update 2.0.0.5, Bear Traps can be equipped in Tools. They come in pack of 3.
-
 Bear trap holding
 -
 Bear trap preparing to place
 -
 Bear trap placed
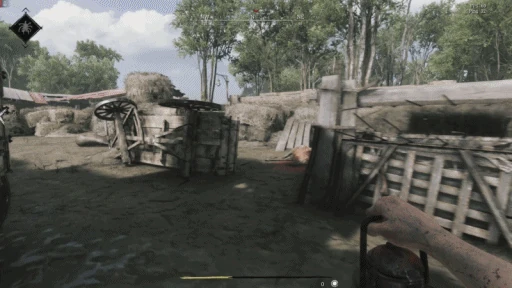
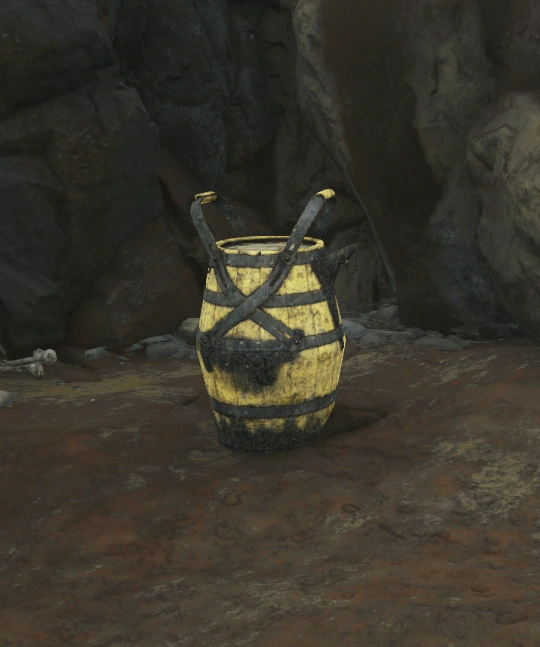
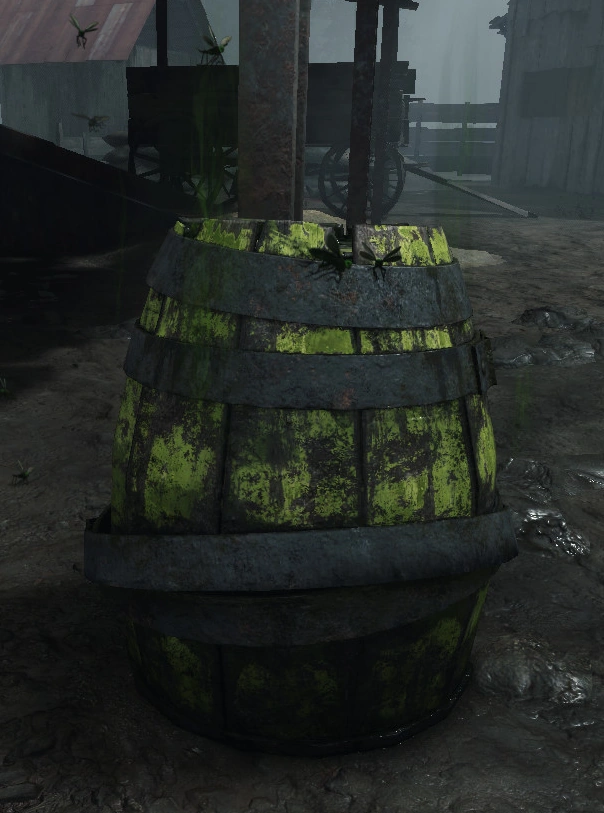
Barrels
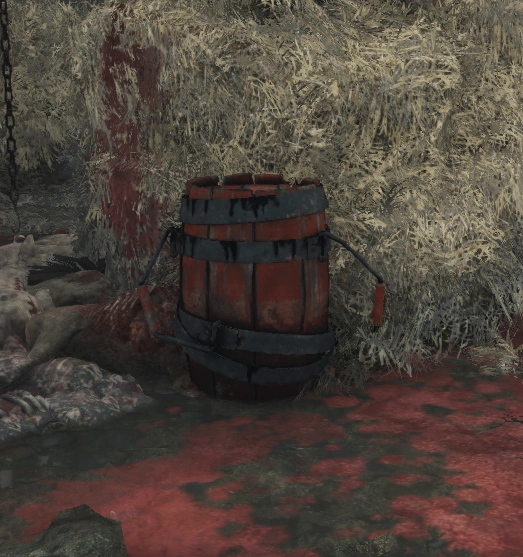
Red and yellow barrels will be set ablaze and explode after a short duration when shot. Shooting them with incendiary or explosive rounds or otherwise throwing a Fusee, throwable lantern or other flammable Tools/Consumables will instantly destroy them. A Hunter that is on fire can trigger the explosion if they get too close, as can Grunts with torches, ignited Immolators, and the Butcher. Alert Trip Mines will set them off instantly when triggered (though not the green poison barrels).
Yellow barrels instantly deal 25 fire damage and inflict intense burning to any Hunter in the explosion's radius. Intense flames burn in the surrounding area for one minute. Red barrels, on the other hand, deal enough explosive damage to kill a Hunter outright if they are too close to the barrel.
Most damage sources will destroy green barrels, which release a large cloud of poison gas that lasts for 5(?) minutes and a hive swarm which will target nearby Hunters that are making noise. Concertina trip mines placed next to poison barrels will trigger them.
- Salveskin reduces burn damage and slows burning.
- Bulwark reduces explosive damage.
- The Weak Antidote Shot and the Antidote Shot negate the damage and poison effects inflicted by poison barrels' clouds (but not the hive swarm).
-
 Fuel barrel
 -
 Explosive barrel
 -
 Shooting an explosive barrel
 -
 Shooting a fuel barrel
 -
 Butcher being killed by shooting an explosive barrel
 -
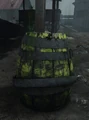 Poison barrel
Axe

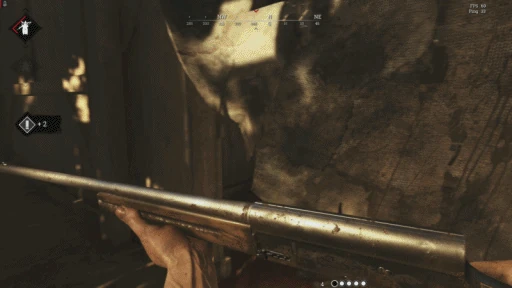
The Axe is a strong and viable rending melee weapon that can be found in compounds and sometimes at Resupply Points. Its heavy and light melee attacks deal exceptional damage and are a strong option against most AI and bosses.
- Assailant allows Hunters to throw world Axes.
Sledgehammer
The Sledgehammer is another strong and viable blunt melee weapon that can be found in compounds and sometimes at Resupply Points. It deals slightly less damage than the axe but is still a strong weapon against Immolators and deals extra damage to the Spider. Its stamina consumption is comparably poor.
- Assailant allows Hunters to throw sledgehammers.
Pitchfork
Among the selection of fearsome farming equipment available to Hunters in the Bayou, the Pitchfork excels at stabbing enemies to death. The Pitchfork deals Piercing damage with its heavy melee attack, and is thus a strong choice against Scrapbeak.
- Assailant allows Hunters to throw pitchforks.
Shovel
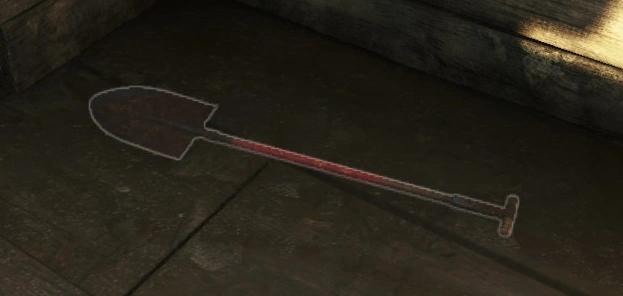
The Shovel, another fearsome farming implement, causes rending damage with its light attack and is therefore a strong candidate for clearing concertina. Its heavy attack causes blunt damage and has the added advantage of making the best melee sound in the game.
- Assailant allows Hunters to throw shovels.
Piano
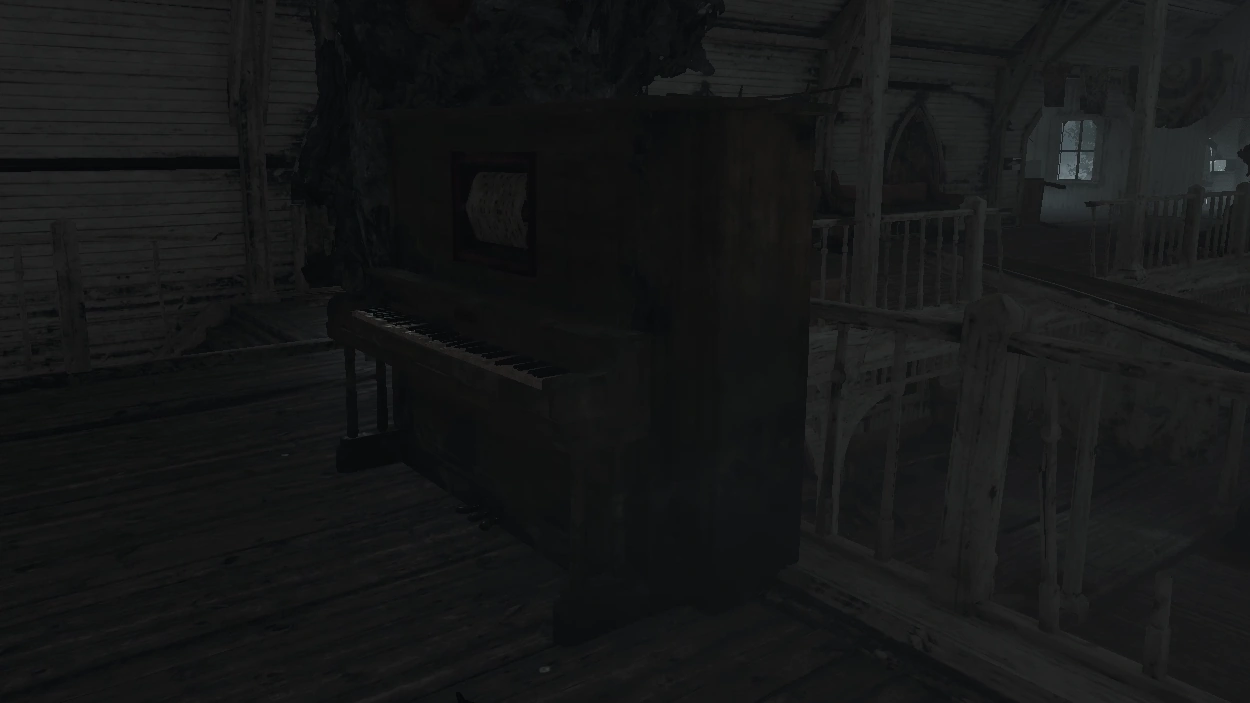
The Piano can distract AI and play, by default, four different songs.
Track 1:
Track 2:
Track 3:
Track 4: ("End Will Come")
Track 5: ("Twelfth Street Rag")
A special track plays on the Saloon piano in Lower DeSalle: ("Dark Is Rising")
Gramophone
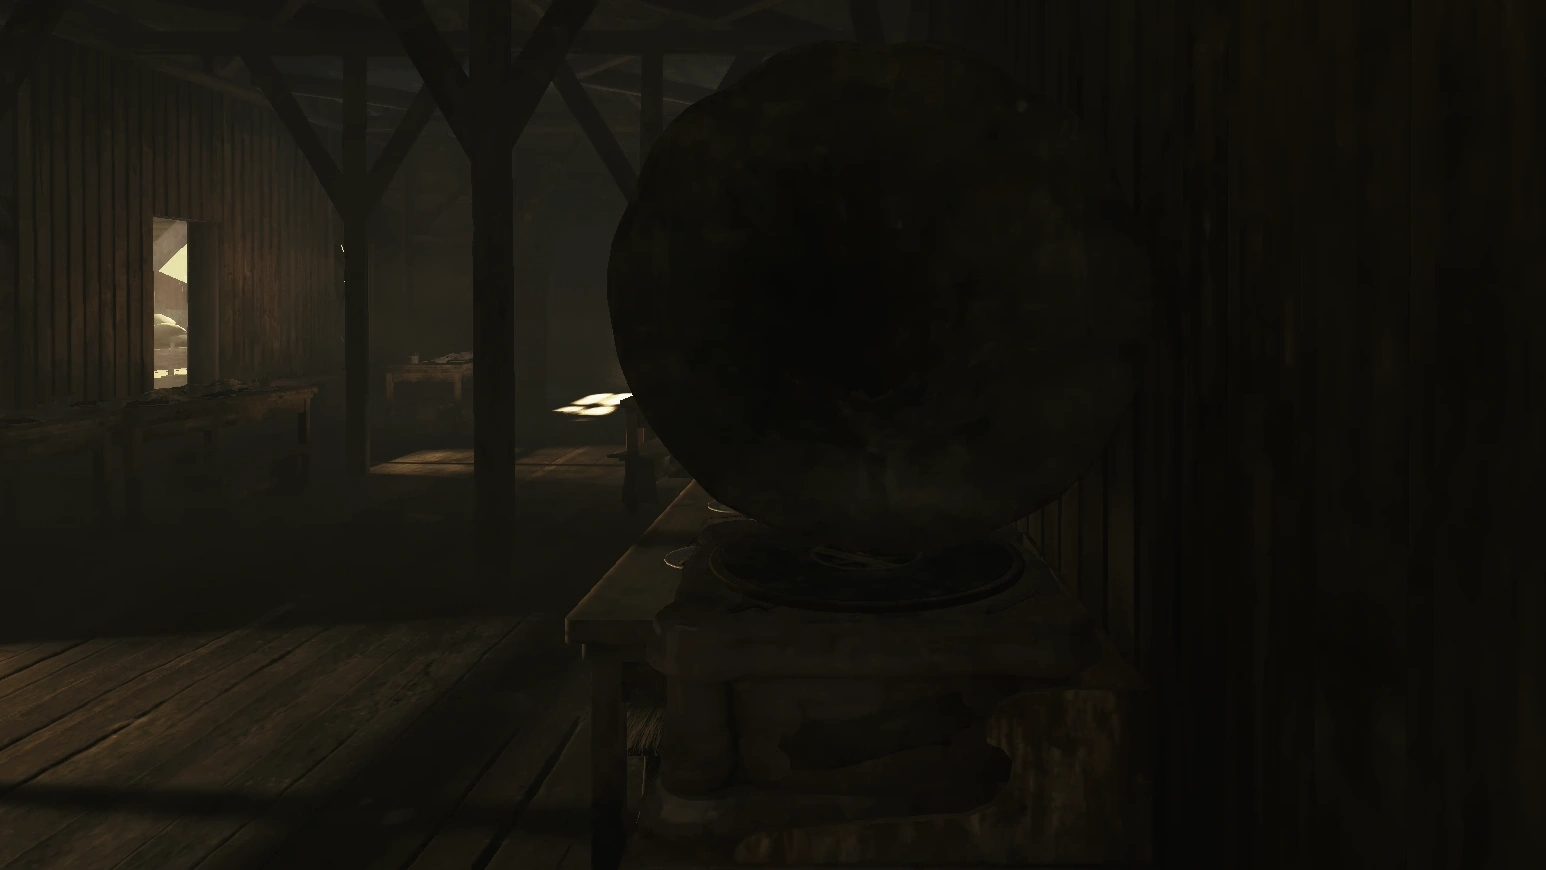
The Gramophone can distract AI and play, by default, two different songs.
Track 1: ("Devil in the Churchyard")
Track 2: (Victorian Song - "After the Ball")
Track 3: (Violin rendition of "It Ain't over (Till It's Over)")
Track 4: ("Drowning Water")
Track 5: ("Light the Match")
All gramophones which spawn close to Scrapbeak's Lair play a rendition of "Bullet's Lullaby".
Animals
Crows
Crows perch on the ground, buildings, and fences. They are one of the louder sound traps - if you scare them, they will fly away cawing loudly, which can be heard from a good distance away. It is also worth noting that they fly in the direction opposite to you, which can either give away the direction of your movement or be used to throw off other Hunters.
Crows can be scared by proximity and sound sources like gunshots, bullet impacts (even from silenced weapons), explosions, objects landing near them (decoys, knives). The distance at which they are scared depends on how fast you are moving - running scares them from a greater distance than walking, and walking a greater distance than crouching. Additionally, Beastface reduces that distance.
They can be killed relatively quiet with lanterns, any variant of the Fire Bomb, poison bolts, or Poison Bombs, but the quietest solution is always to avoid them.
-
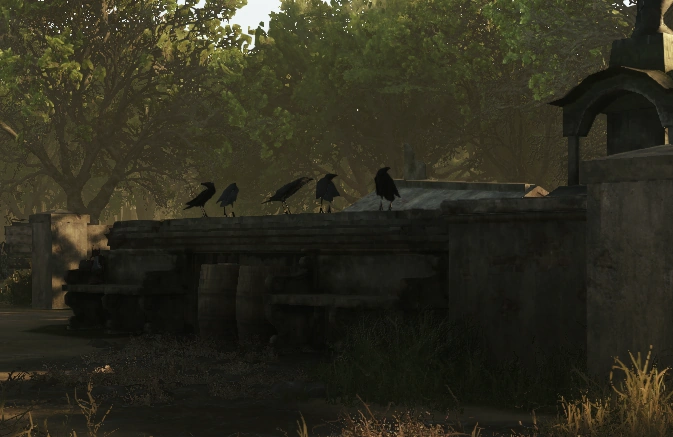
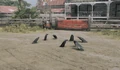 Crows on the ground
 -
 Crows on the fence
 -
 Crows flying away

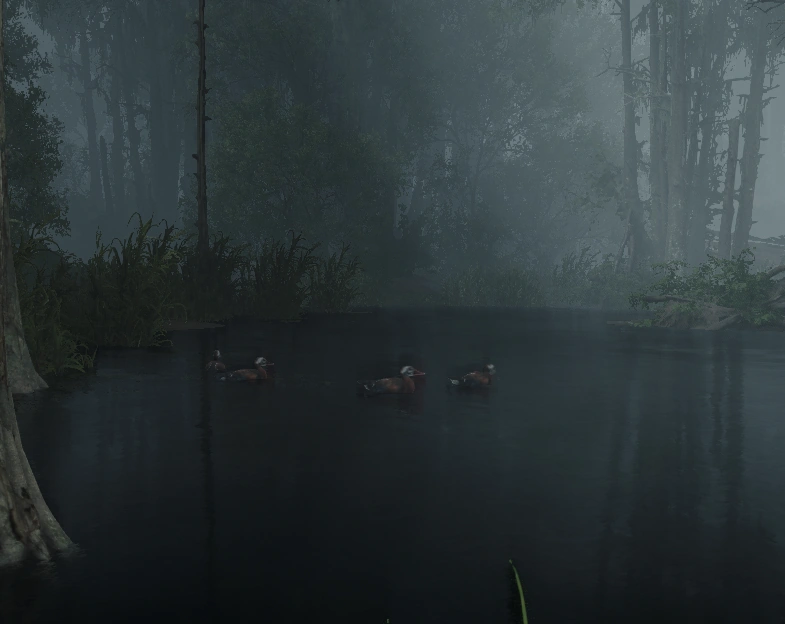
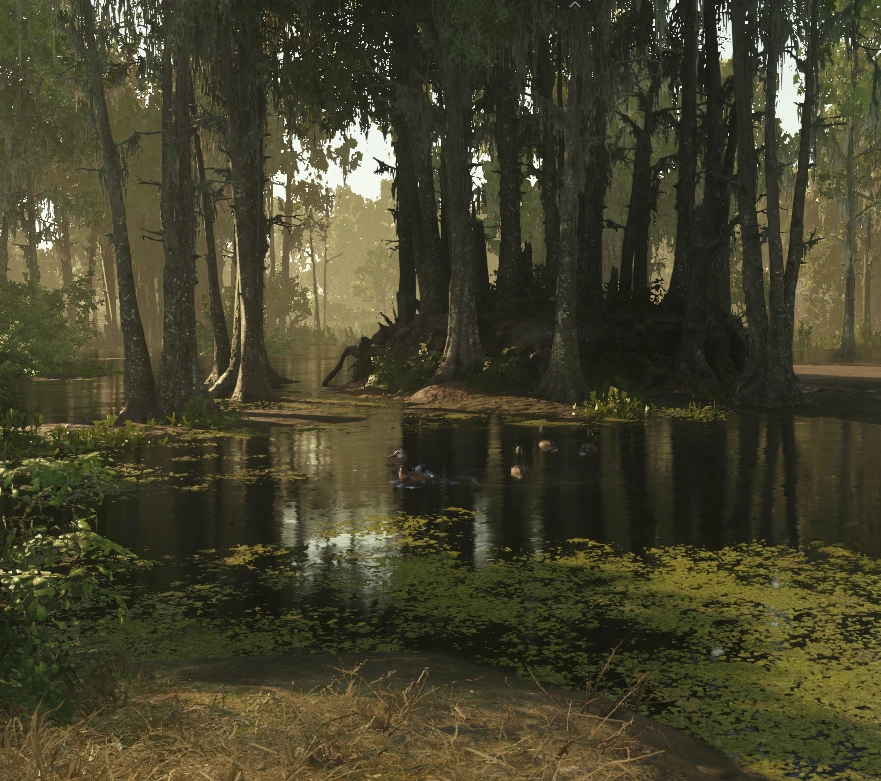
Ducks
Teams of ducks float in the Bayou's ponds and waterways. Triggering them with noise will cause them to fly away quacking loudly, which can be heard from a good distance away. It is also worth noting that they fly in the direction opposite to you, which can either give away the direction of your movement or be used to throw off other Hunters.
Ducks can be scared by proximity and sound sources like gunshots, bullet impacts (even from silenced weapons), explosions, objects landing near them (decoys, knives). The distance at which they are scared depends on how fast you are moving - running scares them from a greater distance than walking, and walking a greater distance than crouching. Additionally, Beastface reduces that distance.
They can be killed relative quietly with lanterns provided you hit a duck directly, any variant of the Fire Bomb, poison bolts, or Poison Bombs, but the quietest solution is always to avoid them.
-
 Ducks on the water
 -
 Some more ducks on water
 -
 Ducks scared away
 -
 Burning the ducks with lantern

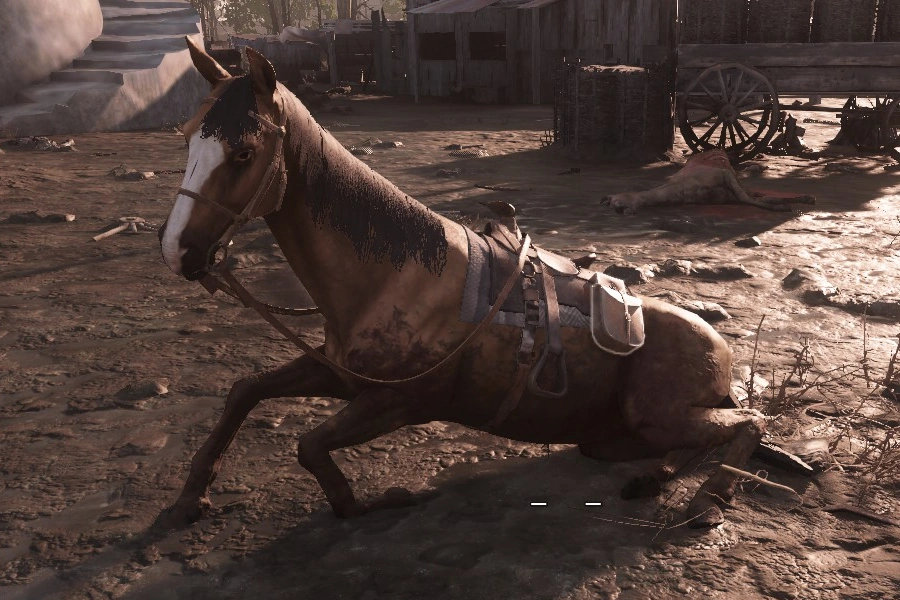
Dying Horse
The dying horse is a type of sound trap that is mainly present on roads and inside compounds. Triggering them causes them to neigh loudly, which can be heard from a short distance. If a Hunter remains too close to an agitated horse, they can be kicked, which deals blunt damage.
Dying Horses can be scared by proximity and sound sources like gunshots, bullet impacts (even from silenced weapons), explosions, objects landing near them (decoys, knives). The distance at which they are scared depends on how fast you are moving - running scares them from a greater distance than walking, and walking a greater distance than crouching. Additionally, Beastface reduces that distance. A melee to the head can dispatch a horse before it has a chance to neigh more than once.
-
 Killing horse instantly by a headshot
 -
 Killing horse

Other Sound Sources
- Bells (large, small and tin)
- They can be triggered by players and can be heard from nearby compounds.
- Small bells can be triggered by explosions or by shooting them.
- Branch
- Once stepped on, they make a loud sound and are broken.
- Crouching does not break them.
- Monsters, like a Grunt, can trigger them too.
- Chicken coops and dog kennels
- Burning them can still be heard from a good distance.
- Red coops/kennels always have animals inside at the start of a match.
- Cans/glass on the ground
- Crouching over them reduces the sound, but they are still audible nearby.
- Hanging chains, pots and pans, and bottles
- Crouching through them reduces the sound, but they are still audible nearby.
Doors, windows and gates
- Barricaded door
- Can be shot open by hitting the wooden slat either through the wall or through windows/etc. This will destroy the barricade, so the door cannot be rebarricaded.
- Can be destroyed with several melee tool melees or two heavy melees with a world/Combat Axe or world hammer.
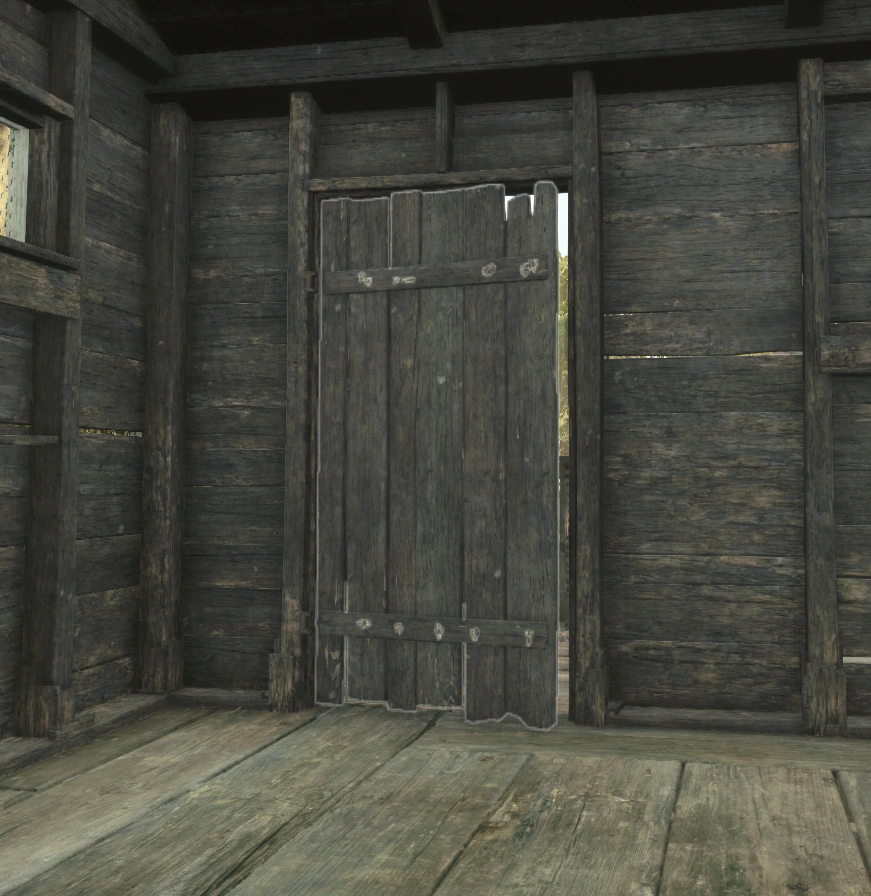
- Door
- Opening a door while crouched is quieter than while standing.
- Meleeing a door will quickly bash it open.
- Doors open outwards, but can be opened inwards by walking/crouching backwards while opening them.
- Unique door models exist at Grizzly Lodge
- Saloon Doors
- In the Lower DeSalle Saloon
- Opened by walking through/melee/explosions
- Fence Gate
- Barn Gate (double or single), Large fence gate, Hatch
- Opening is not quieter while crouching.
- Metal Gates
- Very loud while opening.
- They must be opened by holding the interaction button.
- Shooting/Explosions close them.
- Reinforced Metal Doors (with or without a barred window)
- Very loud while opening.
- They can be opened by cranks located nearby.
- Unless fully cranked, metal doors will slide back closed.
- Cranks take a while to open, and Hunters can pass through before they are fully open.
- Beside interacting with the cranks, shooting and explosions them closes the doors.
- Window (small or regular)
- Window blinds can be destroyed with gunshots, melee, Explosives, or explosive ammo.
- Window glass can be broken by dealing any damage or by vaulting the window
-
 Barricaded door
 -
 Door (not painted)
 -
 A hatch in the roof of Cyprus Huts
 -
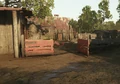 Fence gate